Memberships & Courses
The Memberships hub houses your courses, community spaces, and certificates in one place — connected to the same contacts and payment records as the rest of your CRM.
Selling knowledge or access doesn’t require a separate platform. Your CRM’s Memberships area lets you create structured online courses, run a member community, and award branded certificates — all tied to the contacts, funnels, and payment processing you already use. Students who purchase through a funnel or order form get enrolled automatically; their progress and engagement stays on their contact record. This page walks through each area and how to put it to work.
Courses
Section titled “Courses”
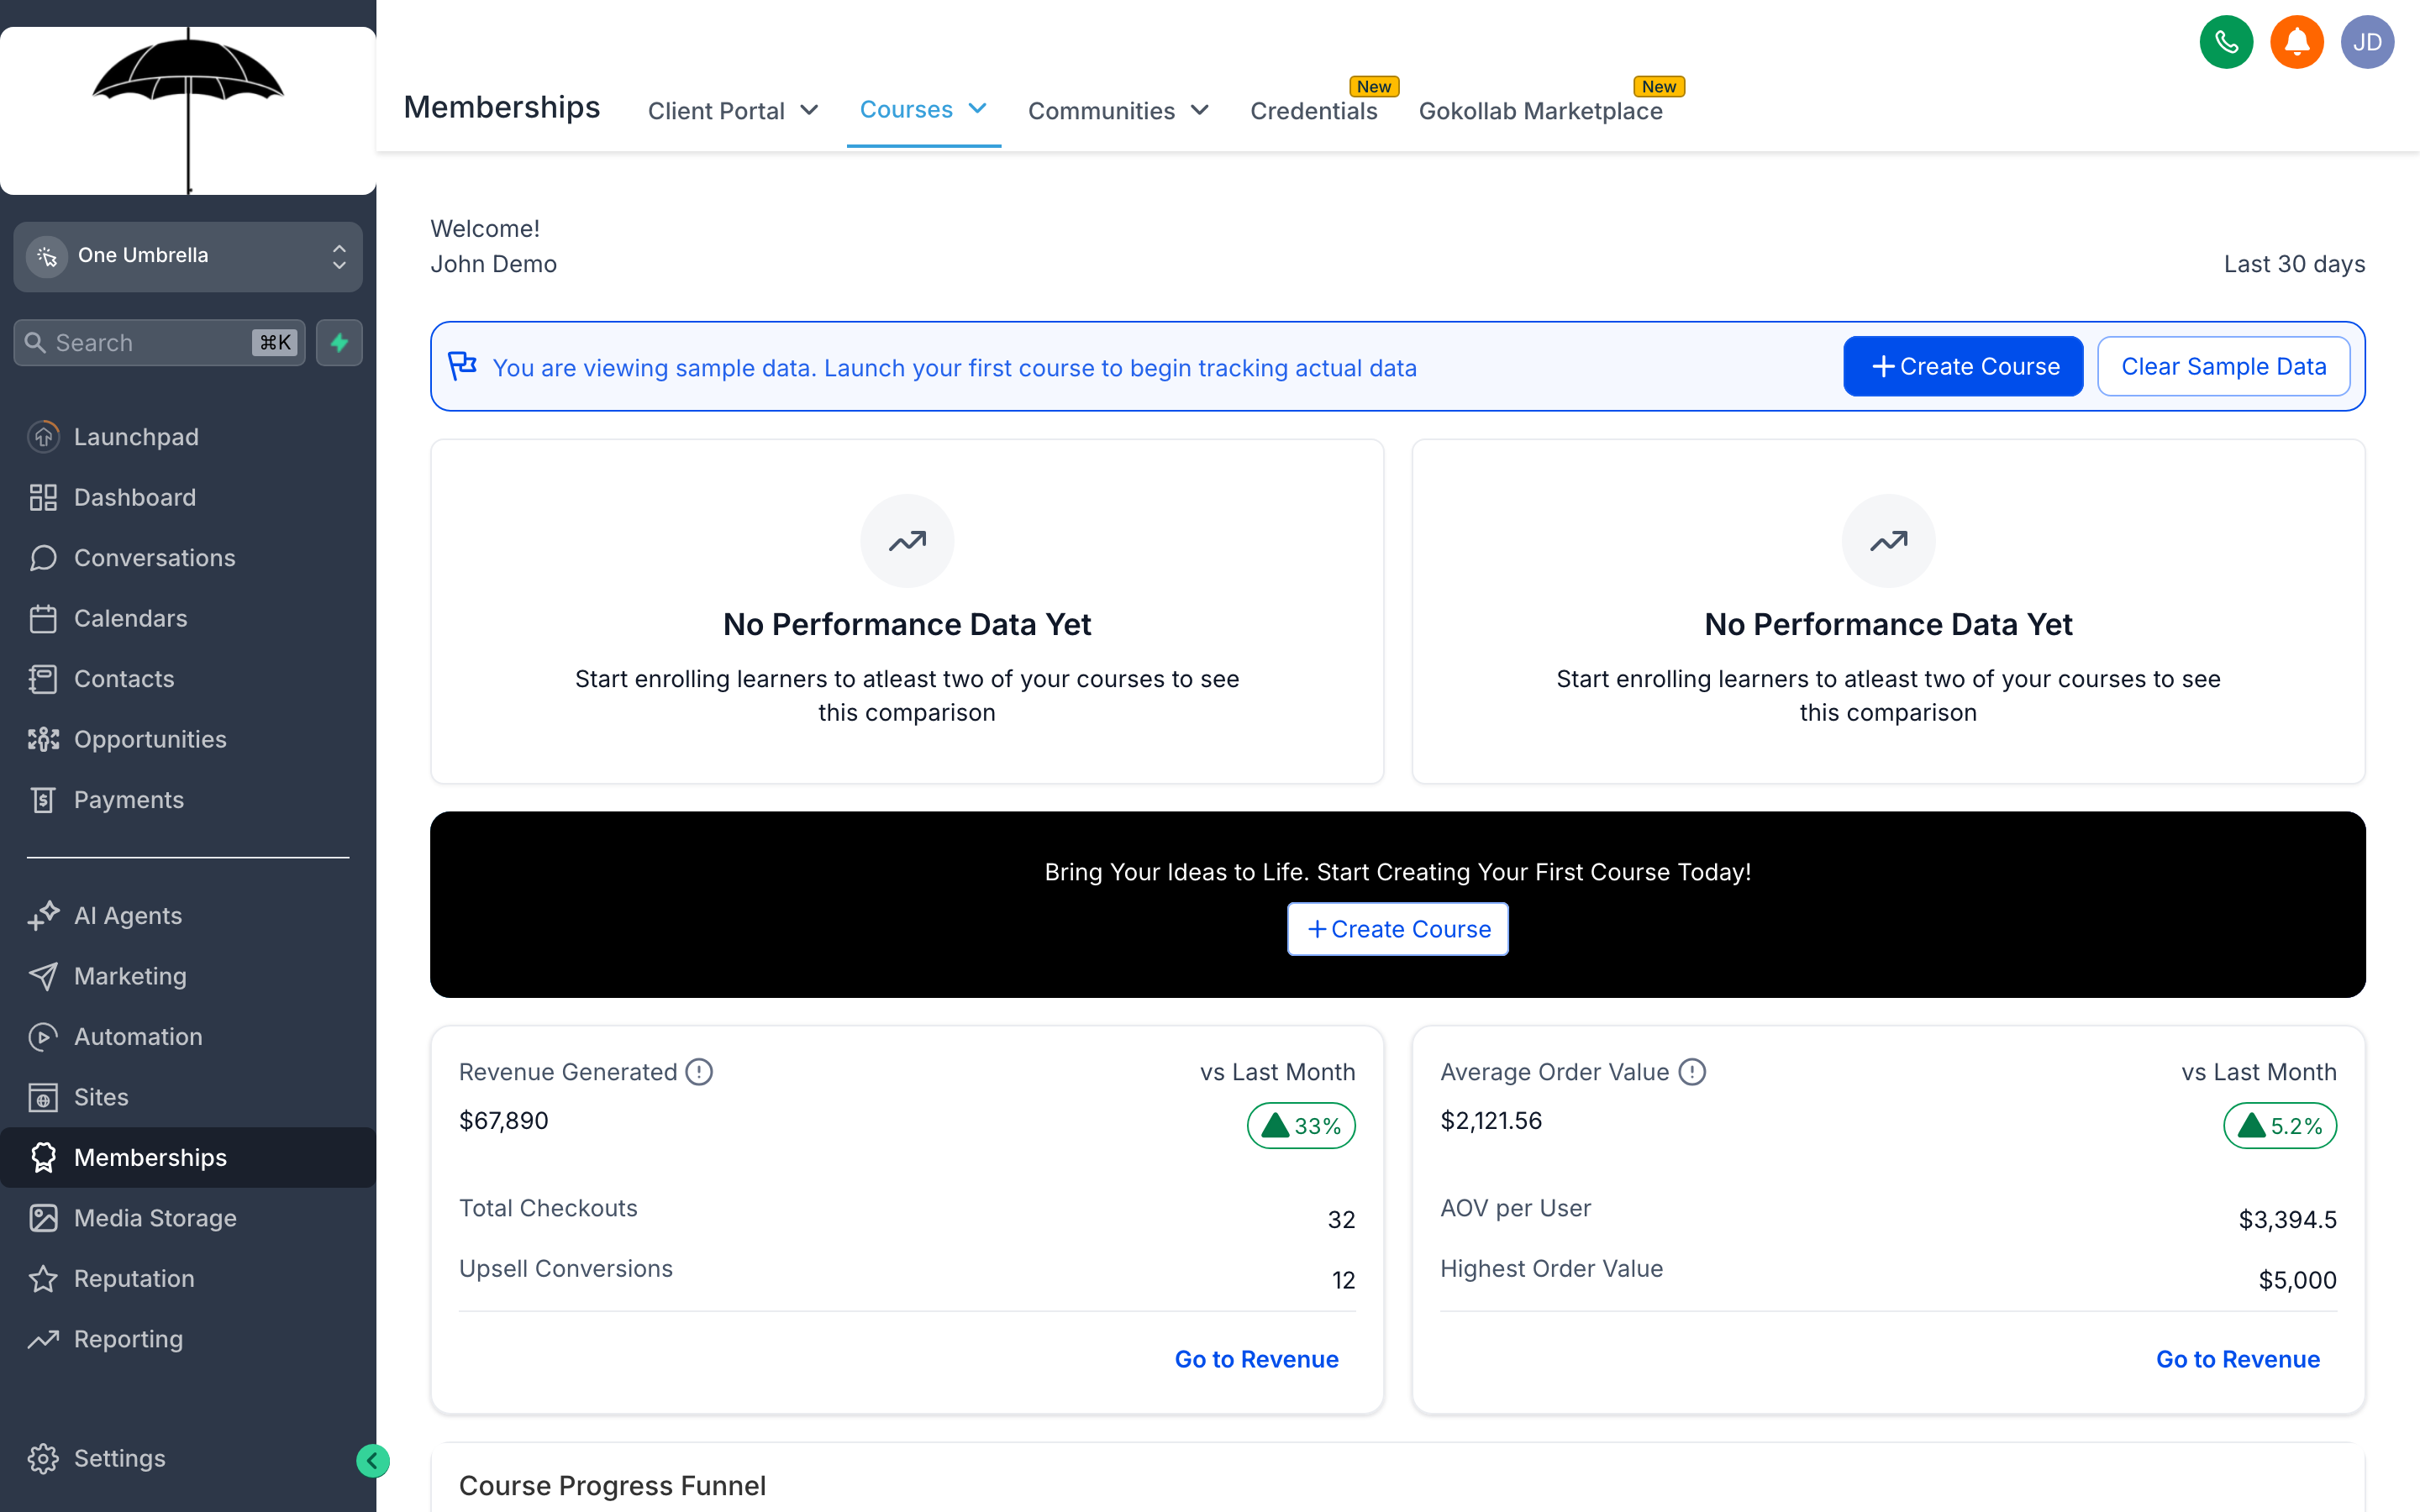
The course builder keeps your content structure (modules and lessons) on the left, the lesson editor in the center, and product/pricing settings on the right — everything in one screen.
Courses is where you build structured learning content. A course contains Products (the top-level sellable item), which are organized into Modules (sections or chapters), which contain individual Lessons (the actual content pages). Each lesson can hold video, text, images, files, and quizzes.
Create a course
Section titled “Create a course”- Go to Memberships → Courses → + New Product.
- Give the course a title and optional description (students will see this on the course landing page).
- Upload a thumbnail image — used in the course library and any funnel you build for it.
- Choose a category if you want to group multiple courses for the same audience.
- Click Create.
Build the course outline
Section titled “Build the course outline”Inside the course editor, the left panel is your outline:
- Click + Add Module to create your first section (e.g., “Module 1: Getting Started”).
- Click + Add Lesson under the module to create the first lesson.
- Give the lesson a title and select its type:
- Video — upload directly or paste a video URL (YouTube, Vimeo, Wistia).
- Text/Rich Content — use the rich-text editor for written lessons, embedded images, and formatted copy.
- Assignment — prompt the student to submit work or answer a question.
- Repeat for each lesson and module.
- Drag lessons or modules to reorder them at any time.
Set access and drip content
Section titled “Set access and drip content”By default, all published lessons are available immediately after enrollment. You can change this:
- In the course settings, go to the Drip Schedule tab.
- Enable Drip Content.
- Set a release delay per module (e.g., “Module 2 unlocks 7 days after enrollment”).
Drip scheduling keeps students engaged over time and reduces overwhelm — especially effective for transformation-focused programs.
Publish and monetize
Section titled “Publish and monetize”- Open the course and go to Settings → Offers.
- Click + Add Offer to create a pricing option:
- One-time payment — a flat fee to access the course forever.
- Subscription — recurring billing for ongoing access.
- Free — useful for lead magnets or community access.
- Set the price, choose a connected payment gateway, and save.
- Create a funnel or order form that uses this offer as its product. When a contact completes checkout, they’re automatically enrolled.
Manage enrollments
Section titled “Manage enrollments”In the Students tab of any course, you can:
- See every enrolled student with their progress percentage.
- Manually enroll a contact (useful for comping access or fixing a payment-not-enrolled edge case).
- Remove a student’s access.
- Export the enrollment list.
Communities
Section titled “Communities”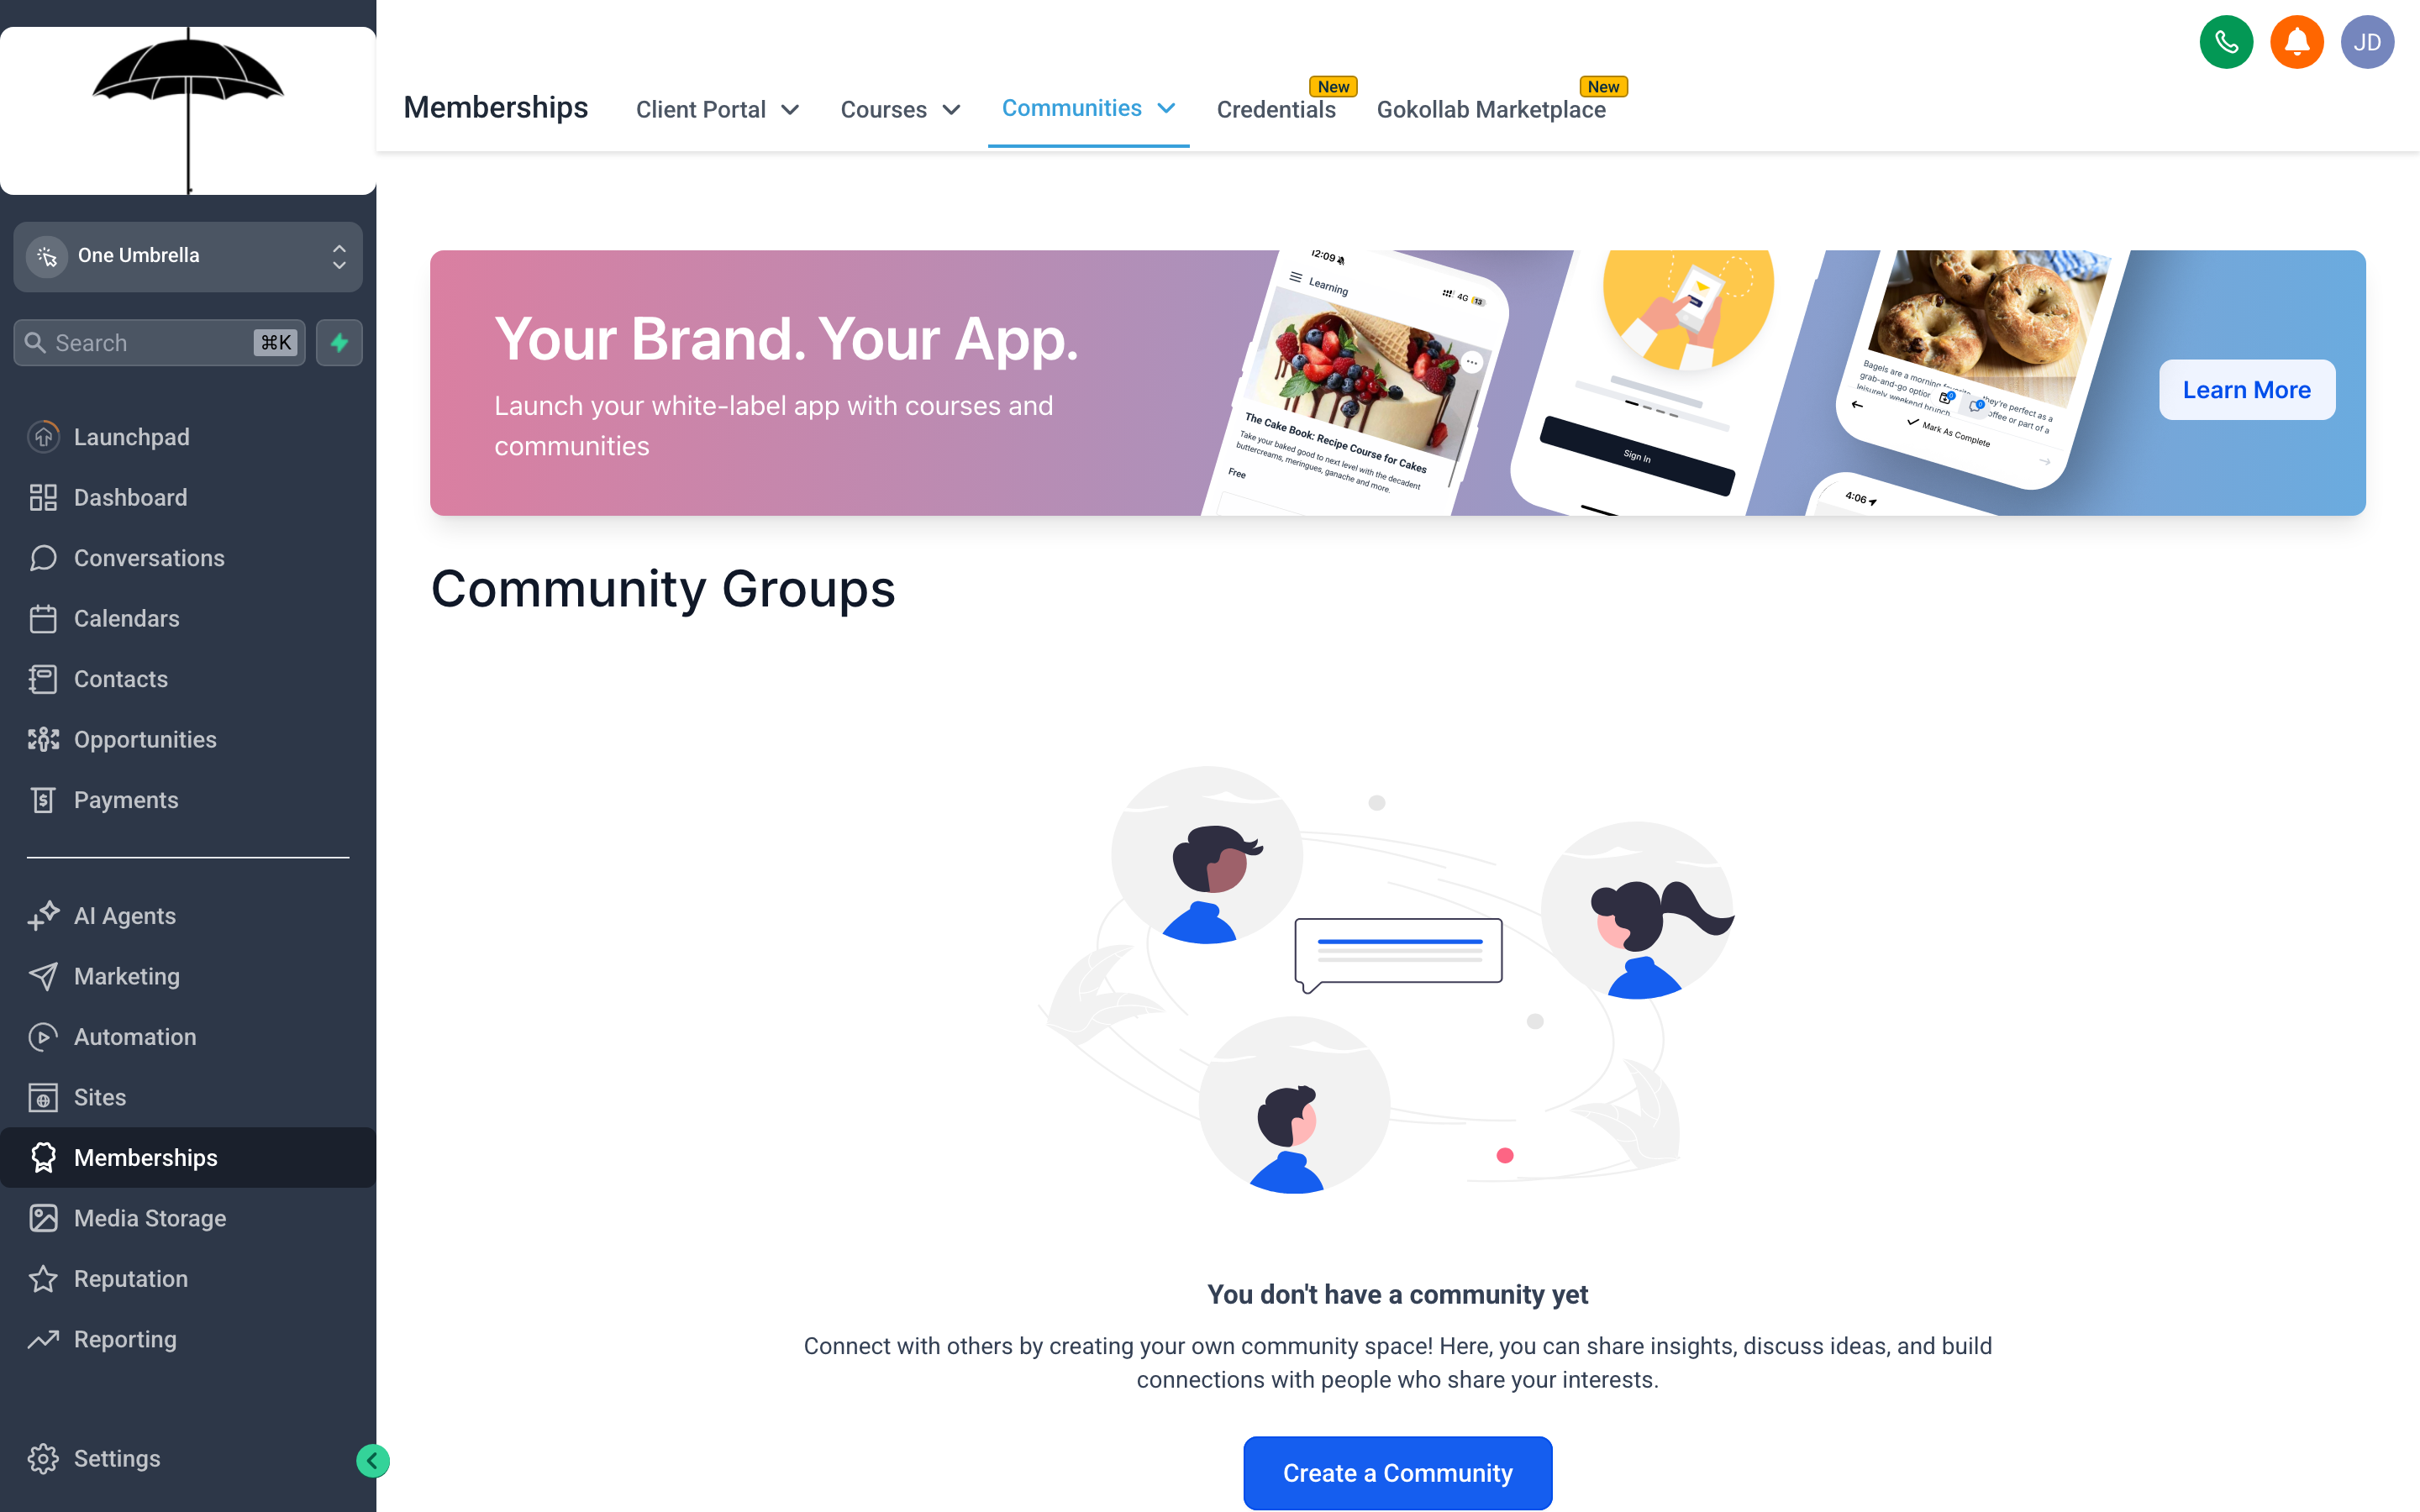
A Community gives your members a branded space to connect, post, and engage — separate from social platforms you don’t own or control.
Communities lets you run a private, branded group space directly inside your CRM. Think of it as your own version of a Facebook Group or Discord server — except you own it, it connects to your contact records, and you can gate access behind a course or membership product.
Create a community
Section titled “Create a community”- Go to Memberships → Communities → + New Community.
- Name the community (this is the public-facing name members will see).
- Upload a cover image and icon for branding.
- Write a short description explaining what the community is for.
- Choose Access Type:
- Public — anyone can join.
- Private — members must be approved or purchase access.
- Click Create Community.
Set up channels
Section titled “Set up channels”Channels are like sub-rooms within your community — separate spaces for different topics, announcements, or member groups.
- Inside your community, click + Add Channel.
- Name it (e.g., “Introductions”, “Questions & Help”, “Wins & Milestones”).
- Set permissions if needed (read-only announcement channels vs. open discussion channels).
Link a community to a course or offer
Section titled “Link a community to a course or offer”- In the community settings, go to Access → Attach Offer.
- Select the course offer or standalone membership offer that grants access.
- When a contact purchases that offer, they’re automatically added to the community.
Monetization options
Section titled “Monetization options”- Bundle with a course — the most common model: buy the course, get community access included.
- Standalone membership — charge a recurring fee for community-only access (coaching communities, mastermind groups).
- Free community as a lead magnet — build an audience you own, upsell to paid programs later.
Certificates
Section titled “Certificates”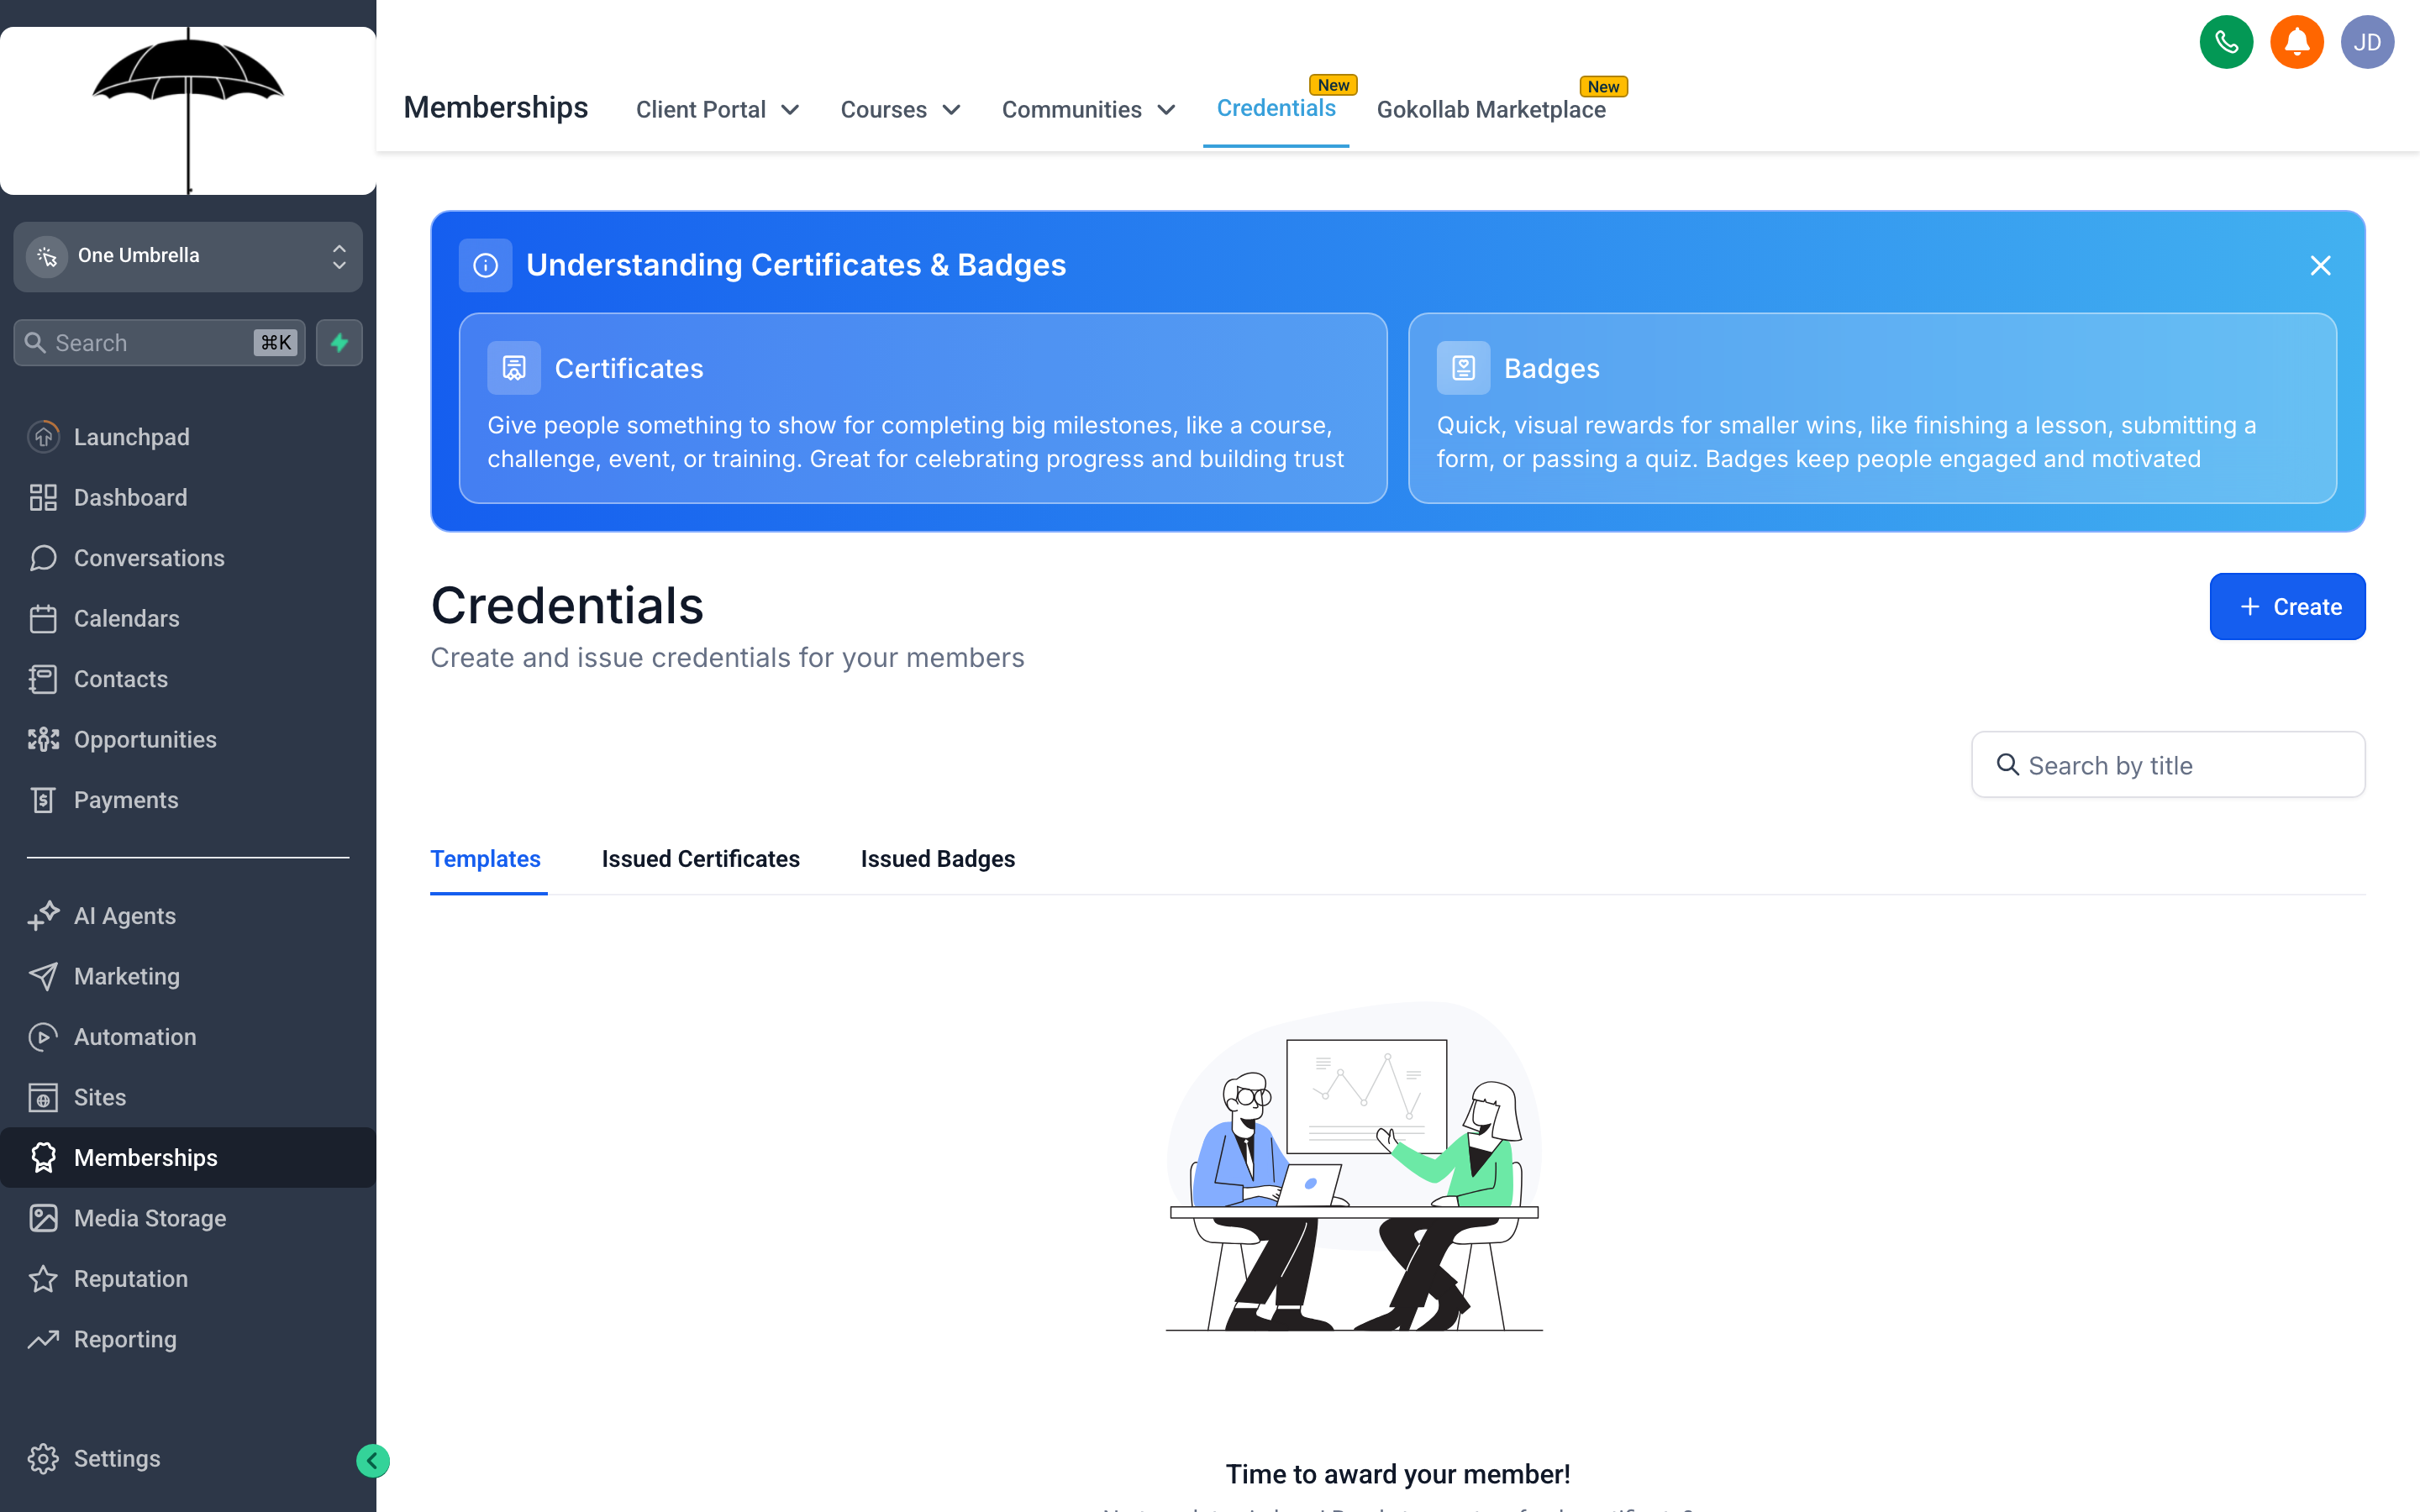
The Certificate builder lets you design a branded completion award — students receive it automatically when they finish the required lessons, and they can download or share it.
Certificates lets you create and issue branded completion certificates tied to your courses. When a student finishes the required percentage of a course (you set the threshold), the system automatically generates a personalized certificate with their name, the course title, and the completion date.
Create a certificate design
Section titled “Create a certificate design”- Go to Memberships → Certificates → + New Certificate.
- Choose a pre-built layout or start from a blank canvas.
- Customize the design:
- Upload your logo.
- Set background color or upload a background image.
- Adjust fonts, font sizes, and colors to match your brand.
- Position the dynamic fields (student name, course name, date) by dragging them to the right location on the canvas.
- Add optional fields like a signature image or certificate ID number.
- Click Save.
Attach a certificate to a course
Section titled “Attach a certificate to a course”- Open the course in the course builder.
- Go to Settings → Certificate.
- Select the certificate design you just created.
- Set the Completion Threshold — the percentage of lessons a student must complete to earn the certificate (common choices: 80% or 100%).
- Save.
From then on, when a student crosses the threshold, the certificate is generated automatically with their details merged in. They receive a notification and can download a PDF.