Payments
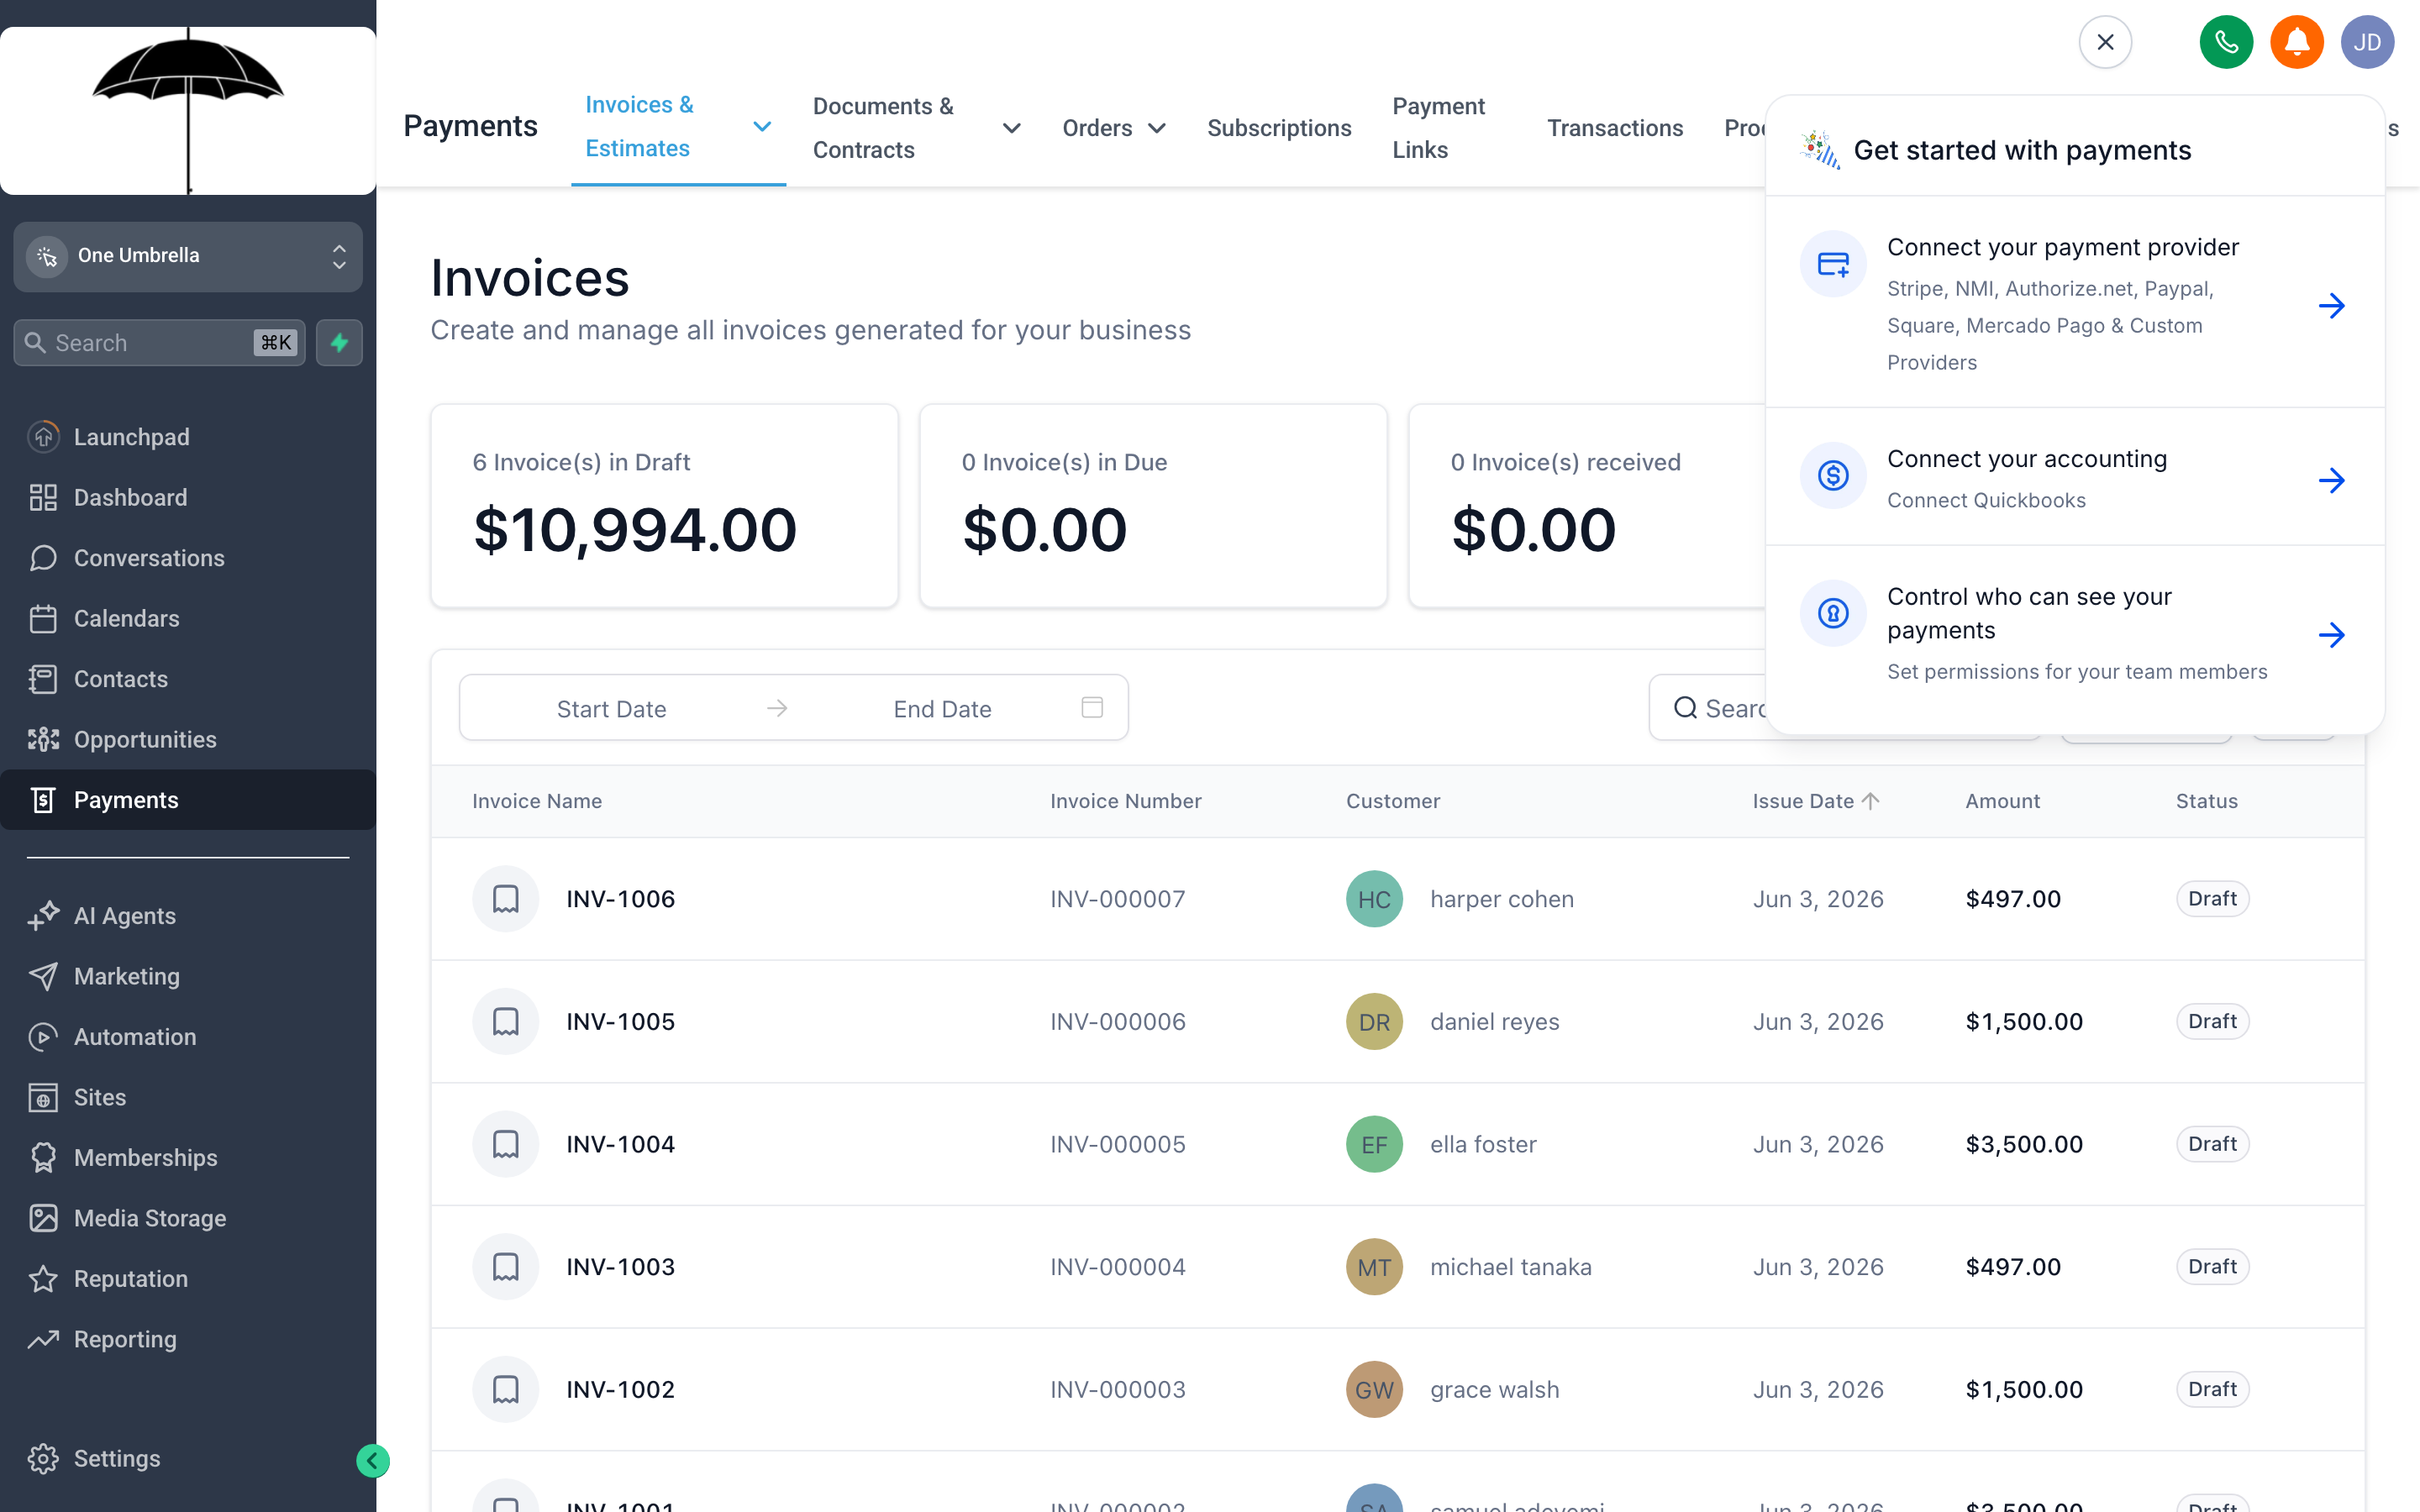
The Payments area is your built-in billing hub — every invoice you’ve created lives here with a color-coded status badge so you know what’s outstanding at a glance.
The Payments section brings together every part of how money moves through your business: invoices you send manually, products in a shareable checkout link, recurring subscriptions, discount coupons, and legally binding contracts — all in one place. You don’t need a separate billing tool or e-signature app; your CRM handles it end-to-end.
Invoices
Section titled “Invoices”Invoices are the most direct way to bill a specific client for work you’ve done or are about to do. You build the invoice inside your CRM, send it by email, and your client pays through a secure online link — all without leaving the platform.
Creating and sending an invoice
Section titled “Creating and sending an invoice”- In the left navigation, click Payments, then make sure you’re on the Invoices tab.
- Click + New Invoice (or Create Invoice if that’s the label your account shows).
- In the Bill To field, search for the contact you’re invoicing. Select their name to pull in their email and any saved details.
- Set an Invoice Date and a Due Date. The due date is what appears on the invoice your client sees.
- Under Line Items, click + Add Item. You can either search your Products catalog (see the section below) or type a custom item name and price directly. Add as many line items as the job requires.
- Apply a Tax rate if applicable, and add any Notes or payment instructions in the footer field.
- When the invoice looks right, choose one of two paths:
- Save as Draft — keeps the invoice internal until you’re ready to send.
- Send Invoice — emails it to the client immediately. Status updates to Sent.
Invoice statuses
Section titled “Invoice statuses”Each invoice in your list carries a status badge that reflects exactly where it stands:
| Status | What it means |
|---|---|
| Draft | Created but not yet sent — only visible to your team. |
| Sent | Emailed to the client; payment is pending. |
| Paid | Payment received (automatically or manually marked). |
| Overdue | Past the due date with no payment recorded. |
| Void | Cancelled; no longer collectable. |
When a client pays through the online link, the status flips to Paid automatically. If a client pays you by cash, check, or bank transfer outside the system, open the invoice and click Mark as Paid to keep your records accurate.
Recurring invoices
Section titled “Recurring invoices”For clients on a retainer or regular billing cycle, you can turn any invoice into a recurring one:
- When creating or editing an invoice, look for the Recurring toggle or a Schedule option.
- Set the frequency — Weekly, Monthly, Quarterly, or Annually.
- Set a start date and, optionally, an end date (or leave it open-ended).
- Save and send. Your CRM will automatically generate and email a new invoice on each scheduled date.
Products & Services
Section titled “Products & Services”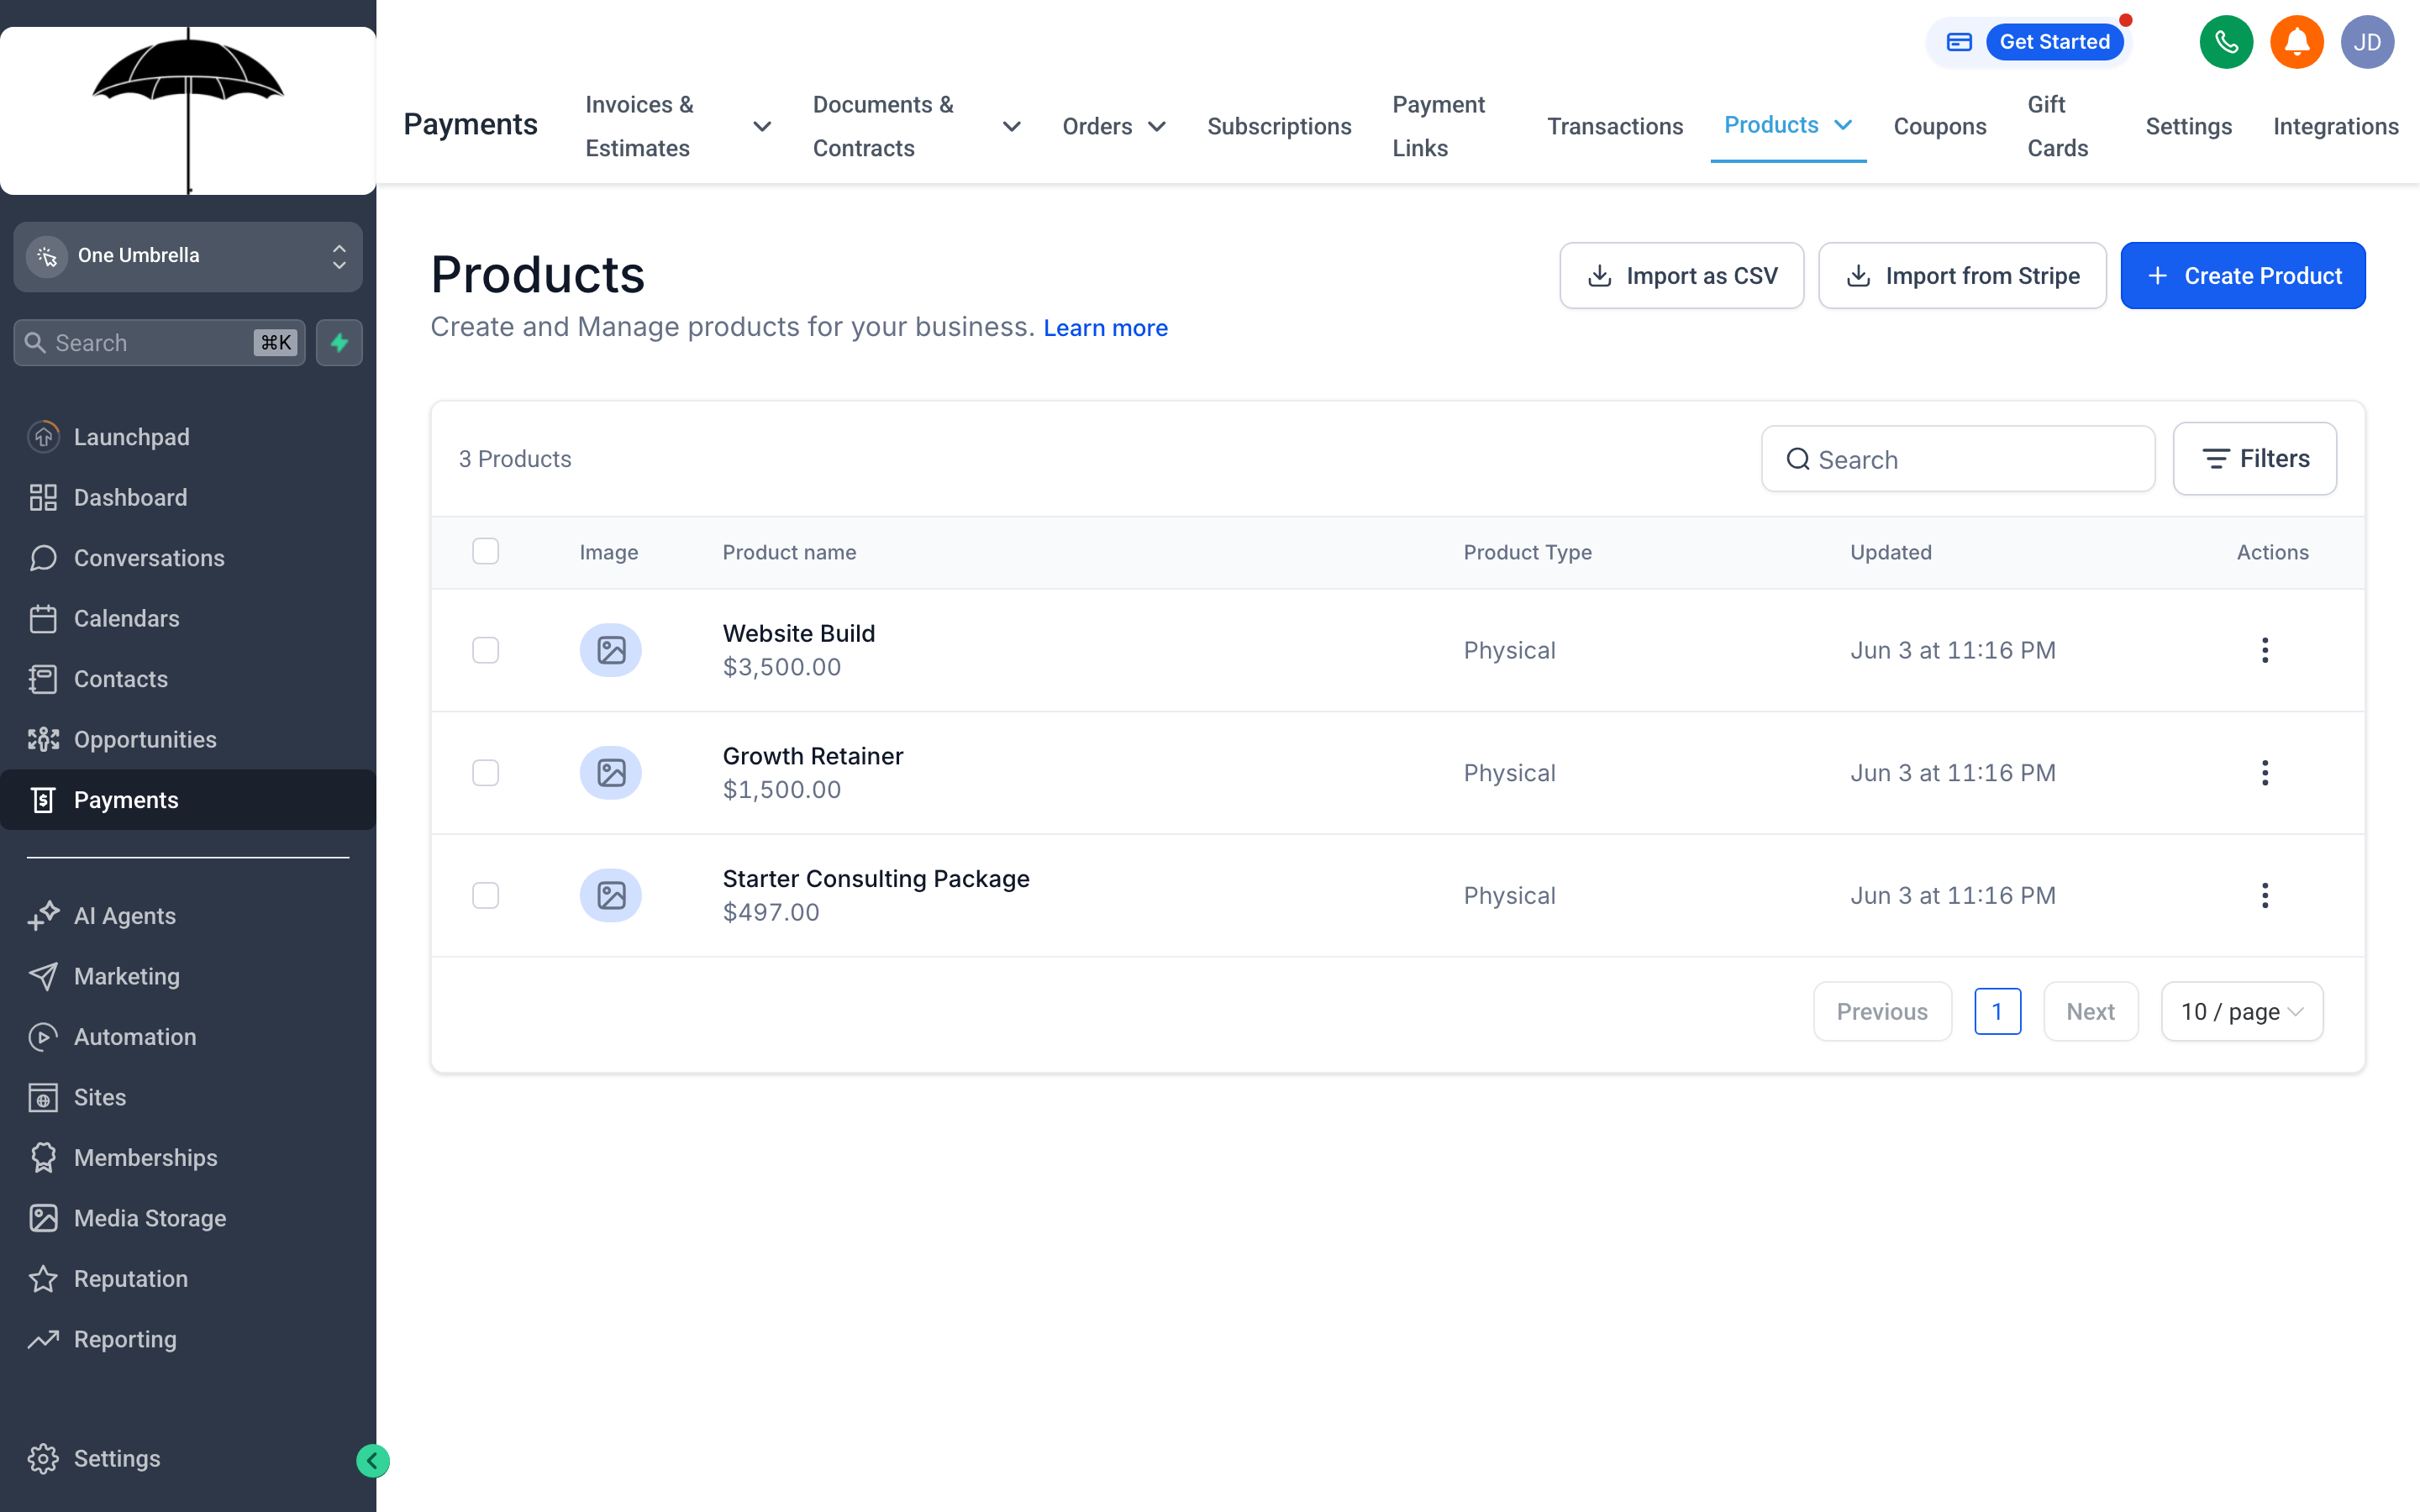
Your Products catalog stores the items and services you sell — build it once, and every invoice and payment link can pull from it without retyping.
The Products catalog is the foundation of efficient billing. Instead of typing “60-minute coaching session — $150” into every invoice by hand, you create it once and select it from a dropdown. This keeps your pricing consistent and saves significant time when building invoices or payment links.
Building your catalog
Section titled “Building your catalog”- Click Payments in the left navigation, then switch to the Products tab.
- Click + Add Product.
- Fill in the Product Name, an optional Description, and the Price.
- Choose the pricing type:
- One-time — for individual services, packages, or products sold per purchase.
- Recurring — for subscription-based services billed on a regular schedule.
- Add an image if you want the product to appear visually in payment links or checkout pages.
- Click Save.
Managing and updating products
Section titled “Managing and updating products”You can edit any product’s name, description, or price at any time. Updates apply going forward — existing invoices already sent won’t change. If you retire a service, you can archive the product so it no longer appears in your catalog but historical records stay intact.
Payment Links
Section titled “Payment Links”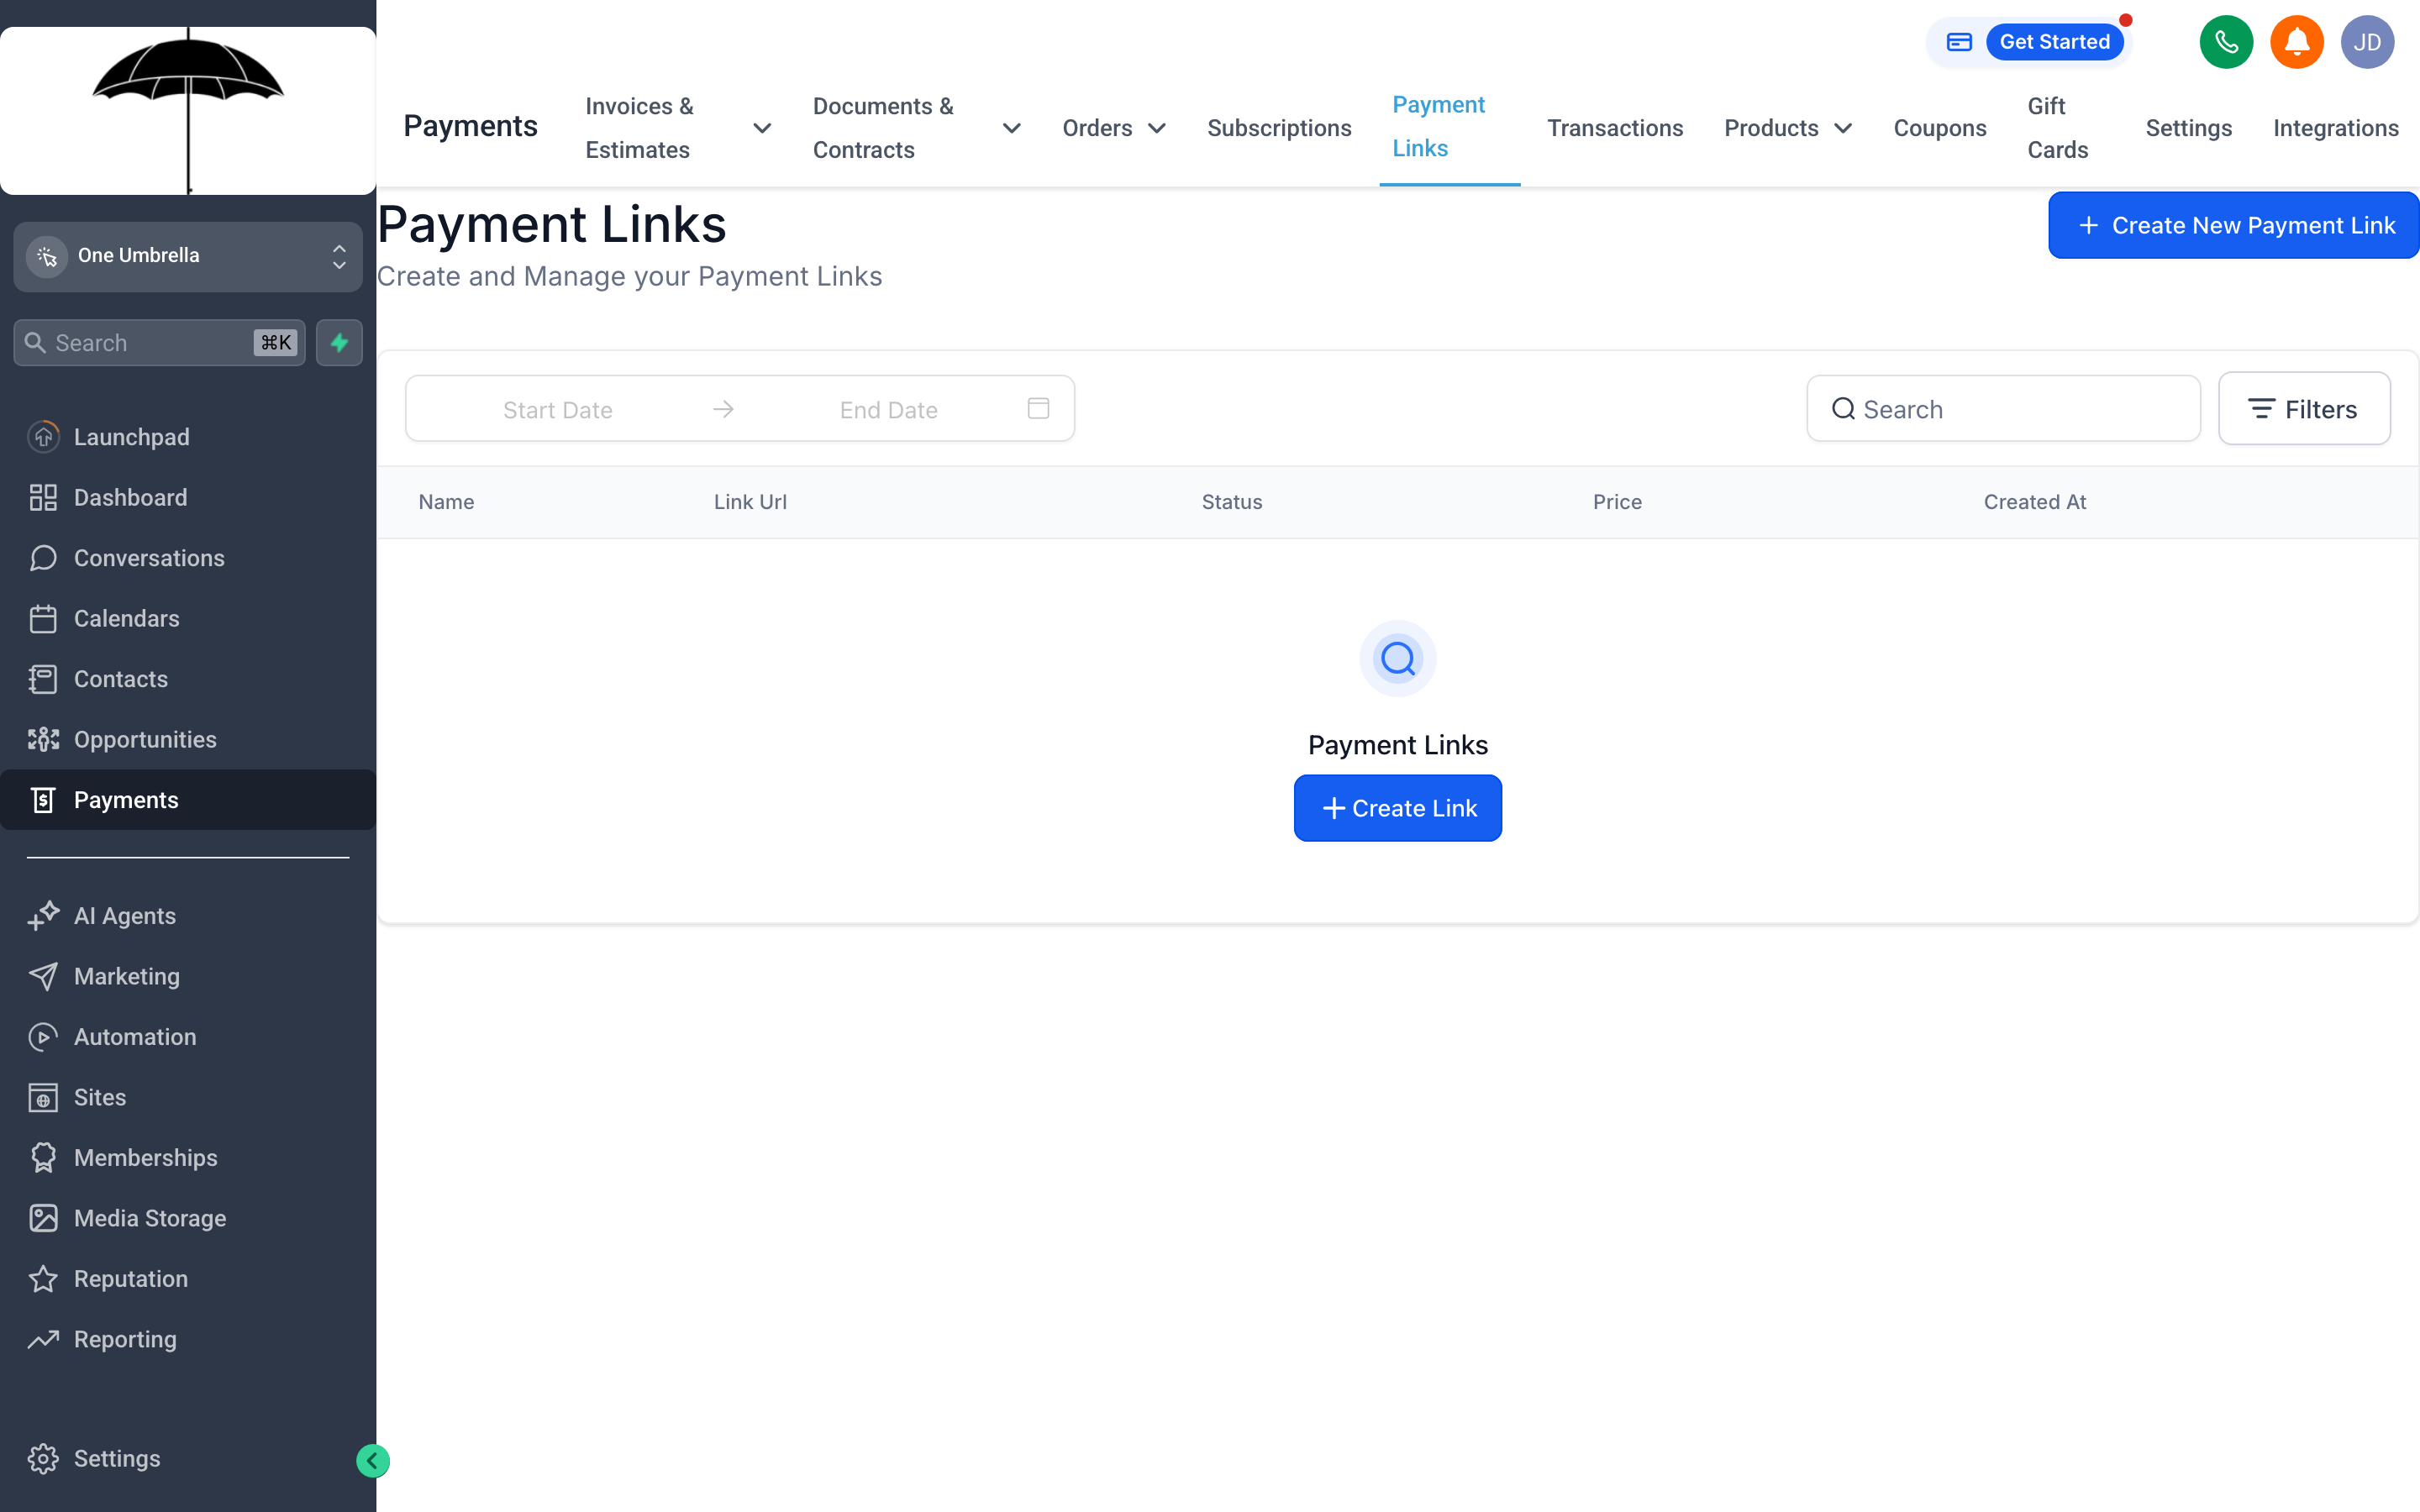
Payment links let anyone purchase from you without you needing to create an individual invoice — ideal for workshops, packages, or anything you sell at a fixed price.
A payment link is a shareable URL that takes a buyer directly to a checkout page for a specific product or set of products. You can paste it in an email, a text message, a social media post, or anywhere else — no invoice required.
Creating a payment link
Section titled “Creating a payment link”- In Payments, click the Payment Links tab.
- Click + New Payment Link (or Create Payment Link).
- Give the link a descriptive internal name so you can identify it later.
- Under Products, click + Add Product and select items from your catalog. You can add multiple products to a single link.
- Set any optional settings:
- Custom amount — let the buyer enter any price (useful for donations or flexible pricing).
- Quantity limits — cap how many times the link can be used.
- Redirect URL — send buyers to a thank-you page after checkout.
- Click Save (or Publish). Your link is generated — copy it and share it wherever you need.
When to use payment links vs. invoices
Section titled “When to use payment links vs. invoices”| Use a payment link when… | Use an invoice when… |
|---|---|
| Selling the same product to many people | Billing a specific named client |
| You want buyers to self-serve at checkout | You need to itemize work for one job |
| Promoting a course, workshop, or package | You need a due date and formal payment terms |
Subscriptions
Section titled “Subscriptions”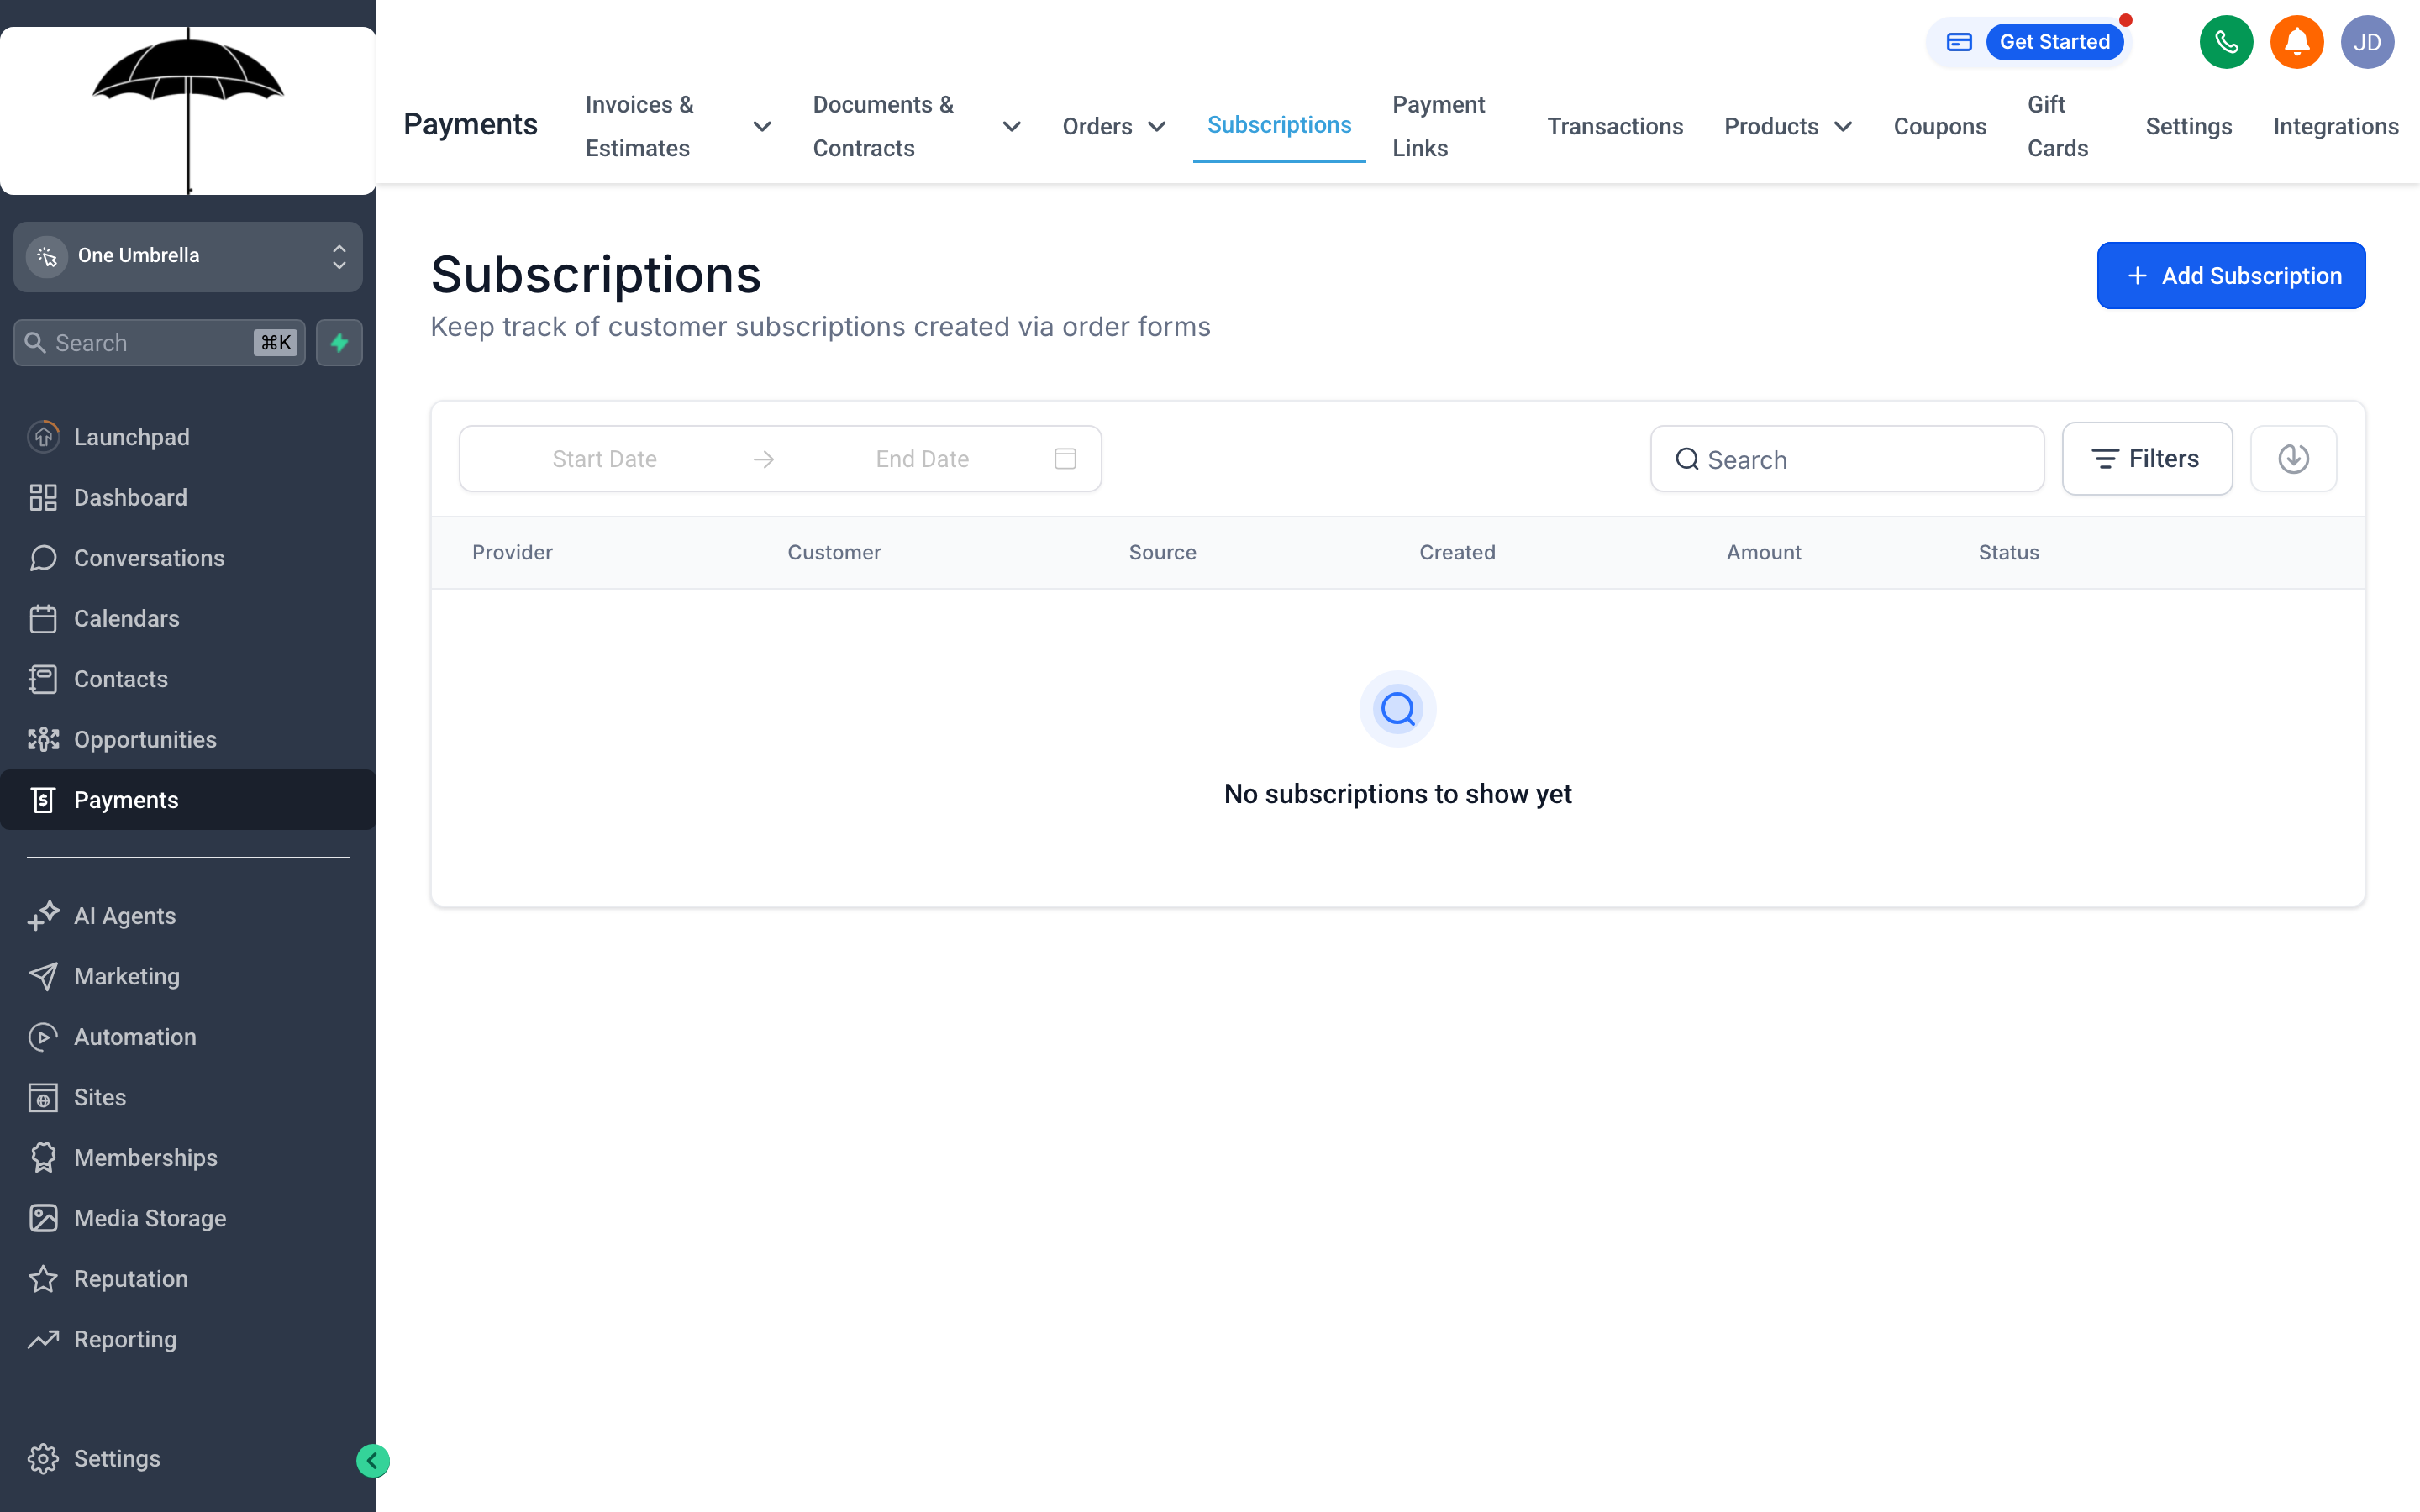
The Subscriptions tab shows every contact currently on a recurring billing plan — so you always know who’s active, who’s paused, and whose card needs attention.
Subscriptions give you predictable, recurring revenue without manually sending invoices each month. Once a contact subscribes — either through a payment link, an order form, or a manually created subscription — your CRM handles the billing automatically on the cycle you define.
How subscriptions are created
Section titled “How subscriptions are created”Subscriptions are generated in one of two ways:
- A contact purchases a recurring product through a payment link or order form.
- You manually create a subscription by opening a contact’s record, going to Payments, and clicking + Add Subscription.
Managing active subscriptions
Section titled “Managing active subscriptions”In the Subscriptions tab, every active plan is listed with the contact’s name, the plan details, the next billing date, and the current status. From here you can:
- Pause a subscription — billing stops at the end of the current period and resumes when you unpause.
- Cancel a subscription — billing ends; you can choose whether to cancel immediately or at the end of the current billing period.
- Update the payment method — send the contact a secure link to update their card on file.
- View billing history — see every charge that’s been made against that subscription.
Orders
Section titled “Orders”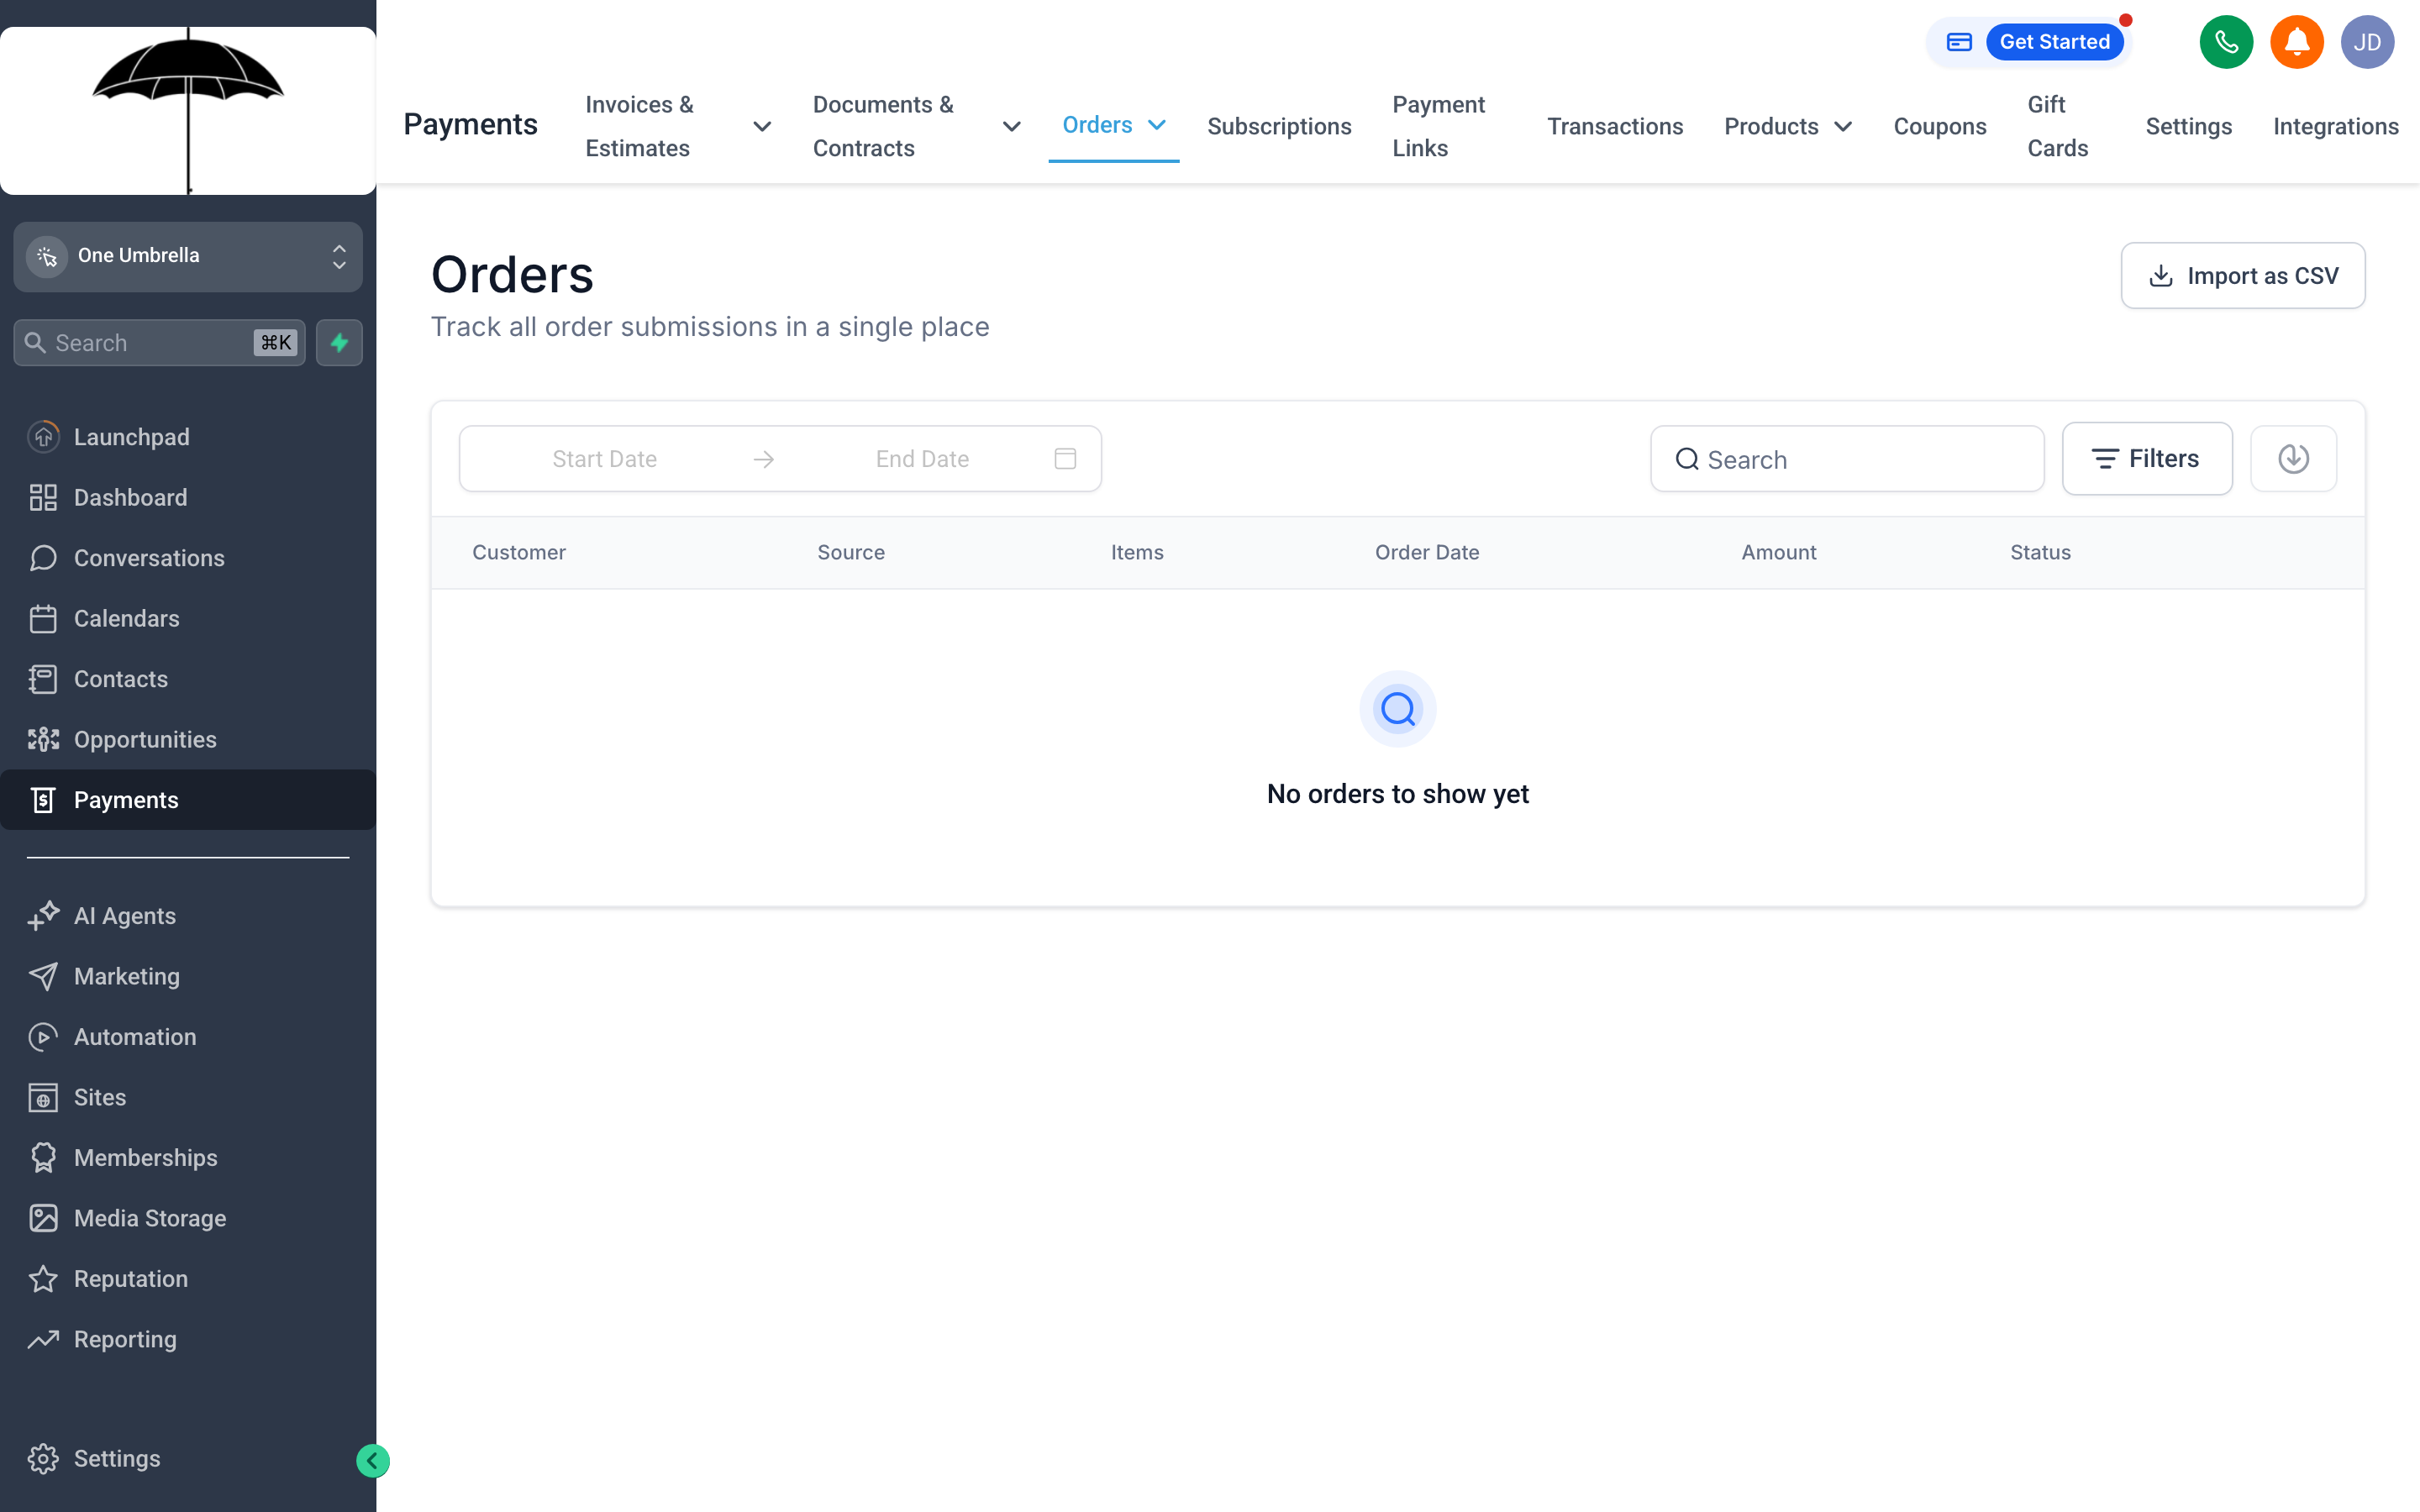
Every purchase made through your payment links or order forms appears here — giving you a complete record of what was bought, by whom, and for how much.
The Orders tab is a read-only log of every completed purchase in your account. Any time a contact buys something through a payment link, an order form, or a checkout page, an order record is created automatically.
What you’ll find in each order
Section titled “What you’ll find in each order”Click any order to see its full details:
- Contact — who made the purchase, with a link to their record.
- Products — what they bought, quantity, and price per item.
- Order total — including any taxes, discounts, or coupons applied.
- Payment method — card type, last four digits, and processor reference.
- Fulfillment status — if your account tracks fulfillment, you’ll see whether the order is pending, fulfilled, or refunded.
Refunding an order
Section titled “Refunding an order”If you need to issue a refund, open the order and look for a Refund button. You can issue a full or partial refund depending on your processor’s capabilities. The refund status will update on both the order record and in the Transactions tab.
Transactions
Section titled “Transactions”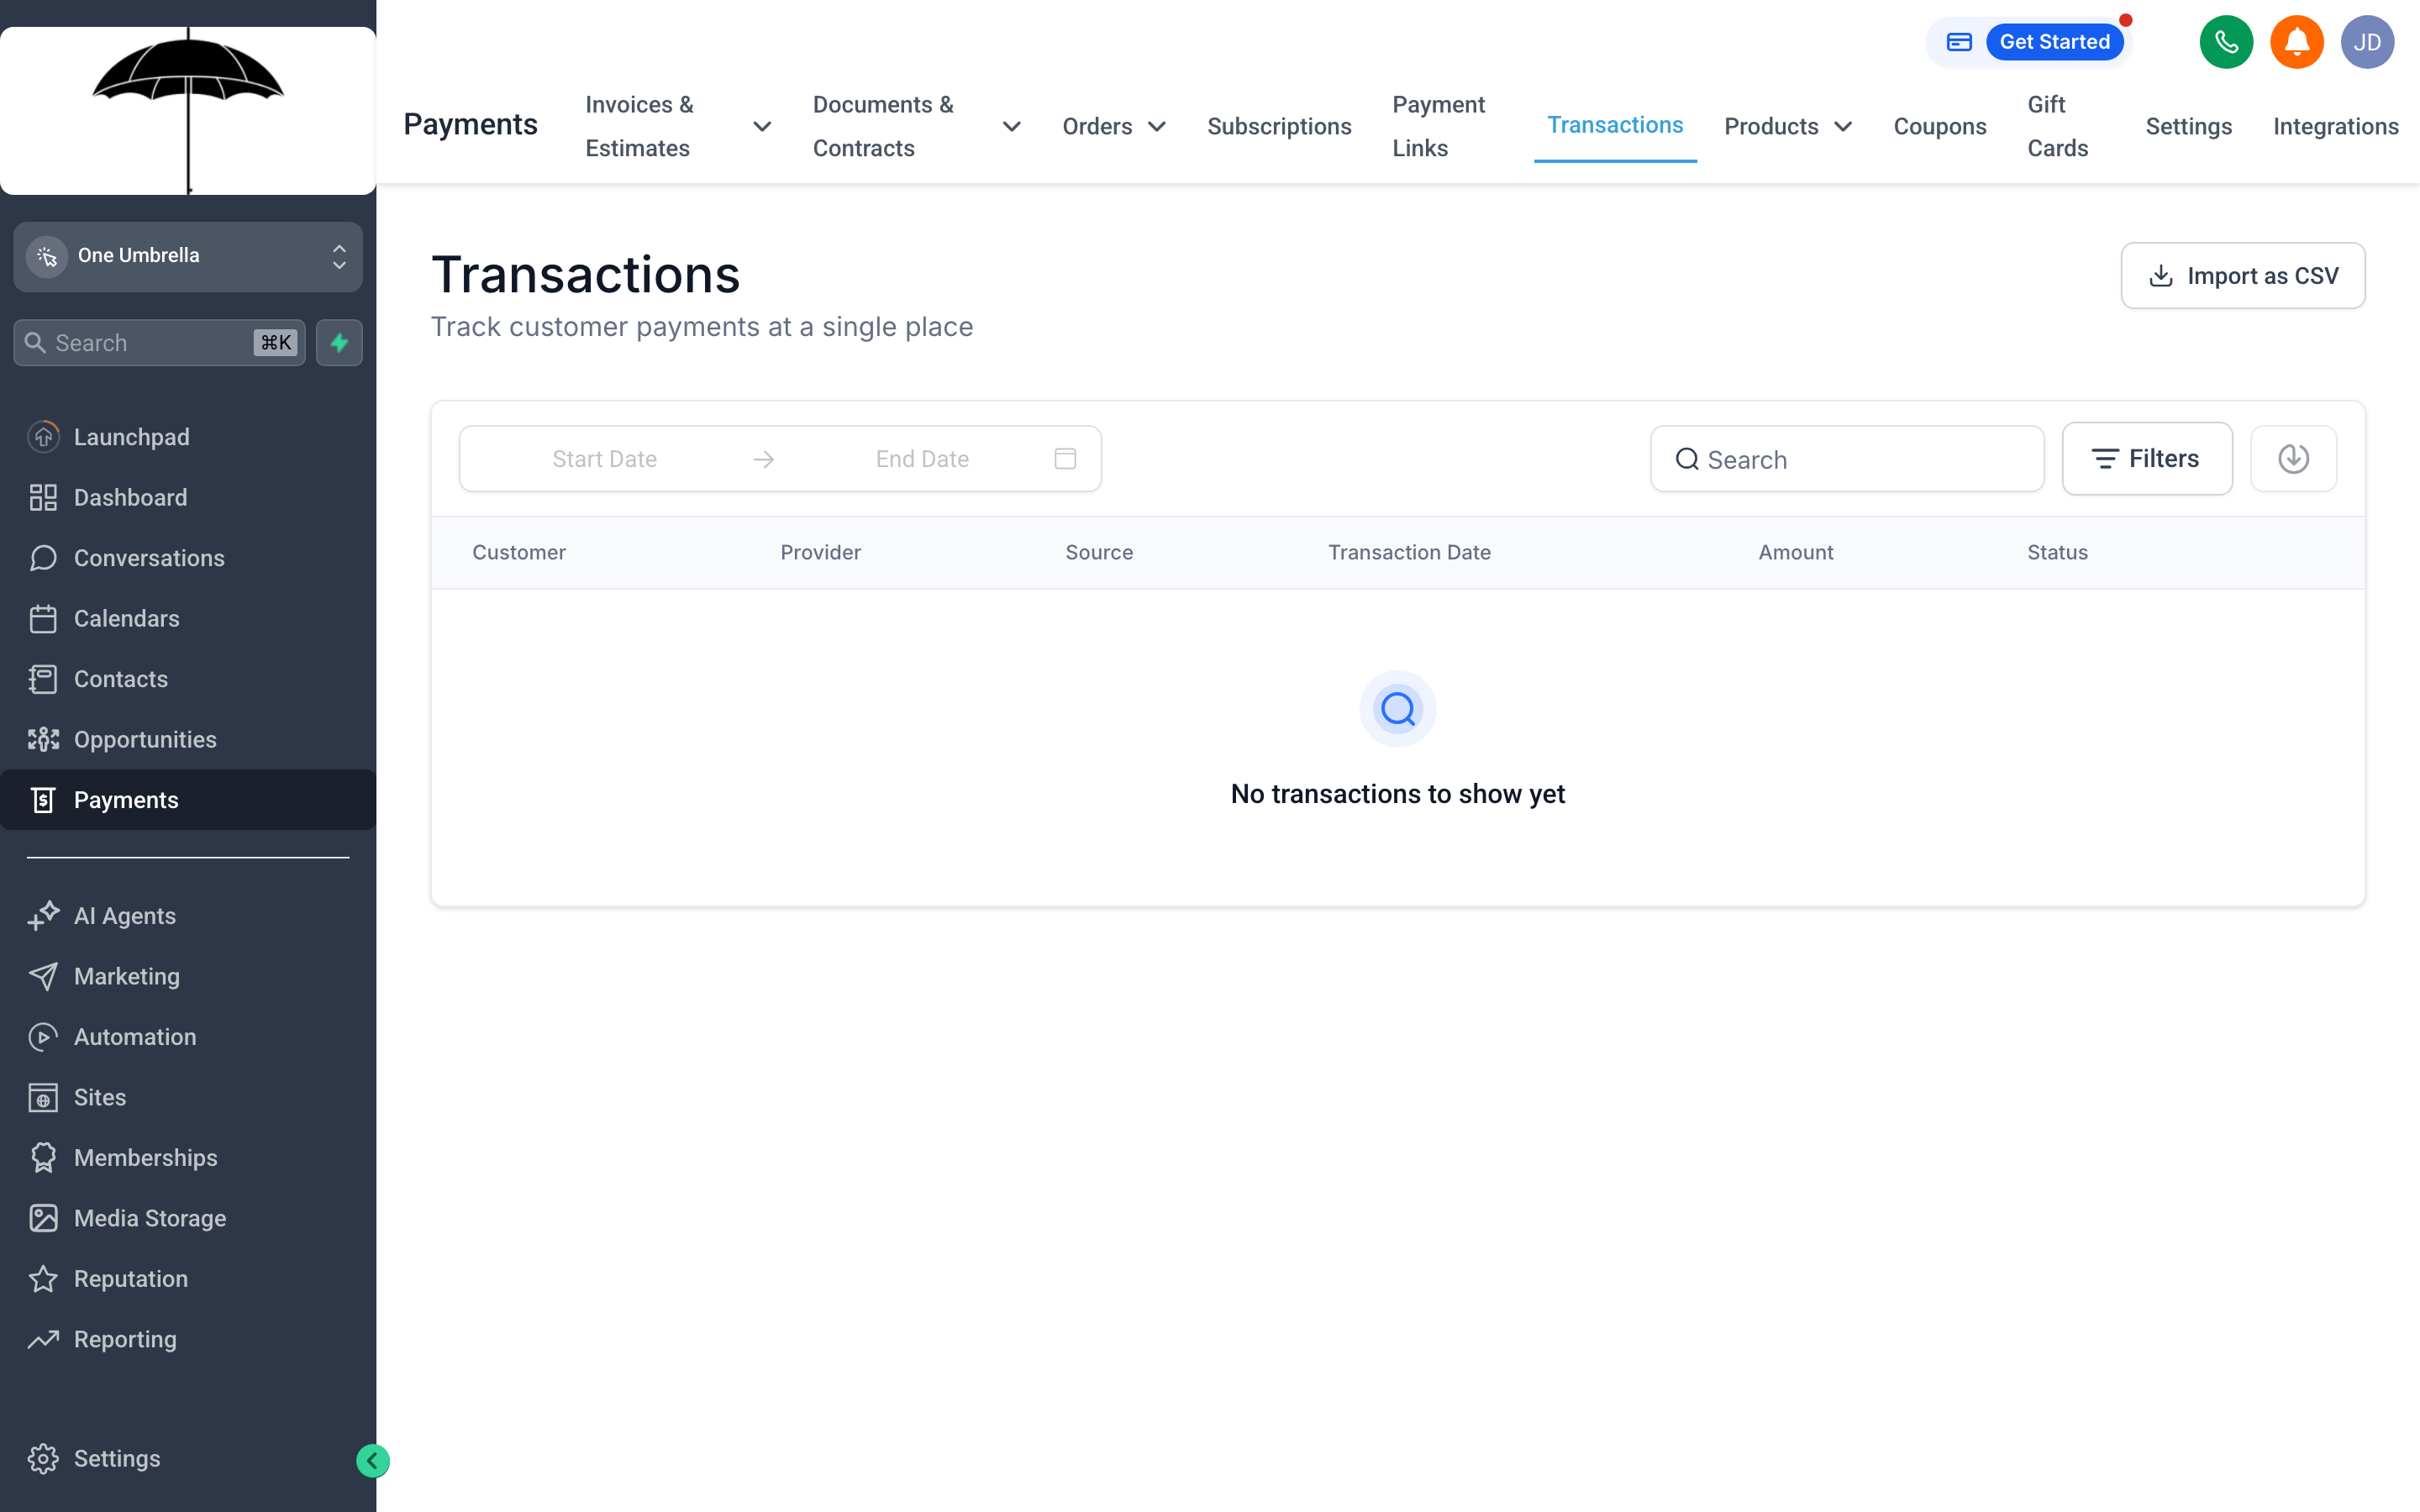
The Transactions tab is your financial ledger — every charge, refund, and payout in one place, with filters to zero in on any time range or payment type.
Where Orders show you what was purchased, Transactions show you the actual money movement. Each row represents a discrete financial event: a charge, a refund, a payout to your bank account, or a failed payment attempt.
Using the Transactions log
Section titled “Using the Transactions log”- Search by contact name or transaction ID to find a specific payment.
- Filter by date range to reconcile a specific week or month.
- Filter by type — charges, refunds, payouts — to isolate what you need.
- Export the filtered list to CSV for your accountant or bookkeeping software.
Failed transactions
Section titled “Failed transactions”When a payment attempt fails (expired card, insufficient funds, etc.), the transaction appears in the log with a Failed status. Your CRM may be configured to automatically send a payment retry or “card update” email to the contact — check with your administrator to confirm whether that automation is active.
Coupons
Section titled “Coupons”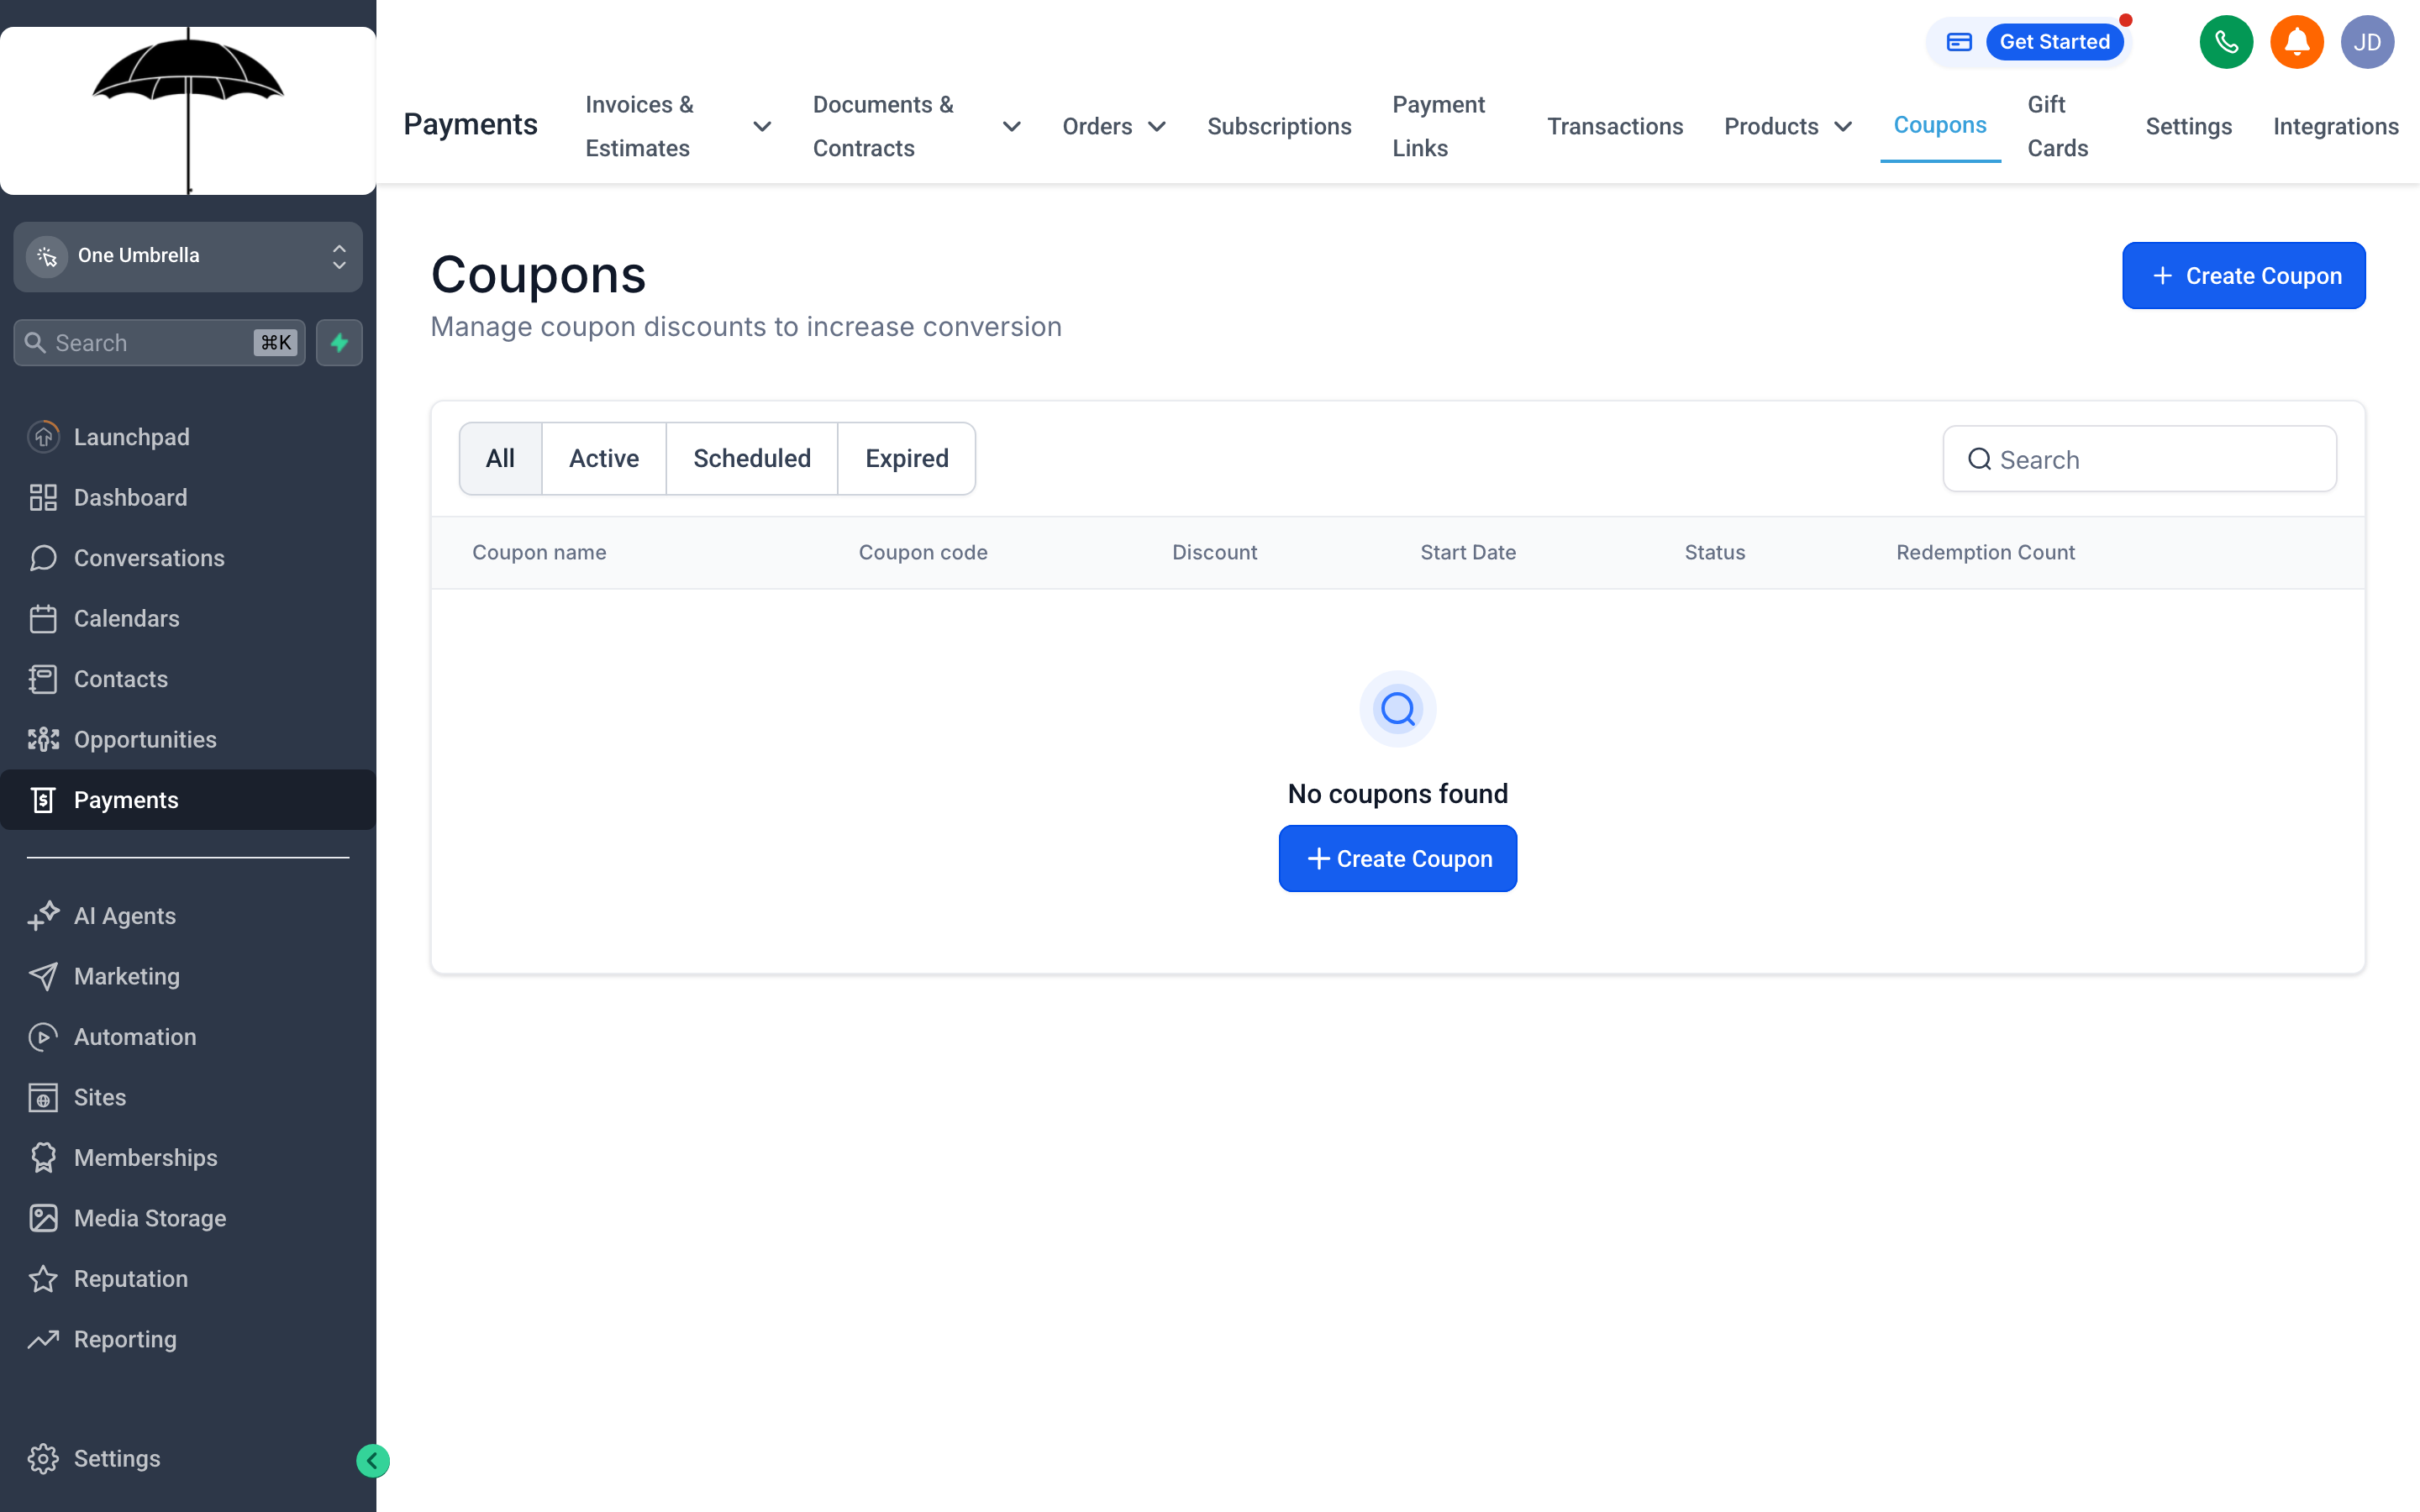
The Coupons tab is where you create and manage discount codes — each one can be percentage-based or a flat amount off, with optional limits on how many times it can be used.
Coupons let you offer discounts without manually adjusting prices. A contact enters the coupon code at checkout and the discount applies automatically to their order total.
Creating a coupon
Section titled “Creating a coupon”- In Payments, click the Coupons tab.
- Click + New Coupon (or Create Coupon).
- Enter a Coupon Code — this is what contacts type at checkout. Make it memorable:
WELCOME20,SUMMER50, etc. - Choose the Discount Type:
- Percentage — e.g., 20% off the order total.
- Fixed amount — e.g., $25 off.
- Set optional limits:
- Expiry date — the coupon stops working after this date.
- Maximum redemptions — the code can only be used a set number of times total.
- One use per customer — each email address can redeem it only once.
- Click Save. The coupon is immediately active for any checkout that accepts it.
Tracking coupon usage
Section titled “Tracking coupon usage”Back in the Coupons tab, each code shows a Redemptions count. Click through to see which contacts used it and when. This is useful for measuring how well a promotional campaign converted.
Documents & Contracts
Section titled “Documents & Contracts”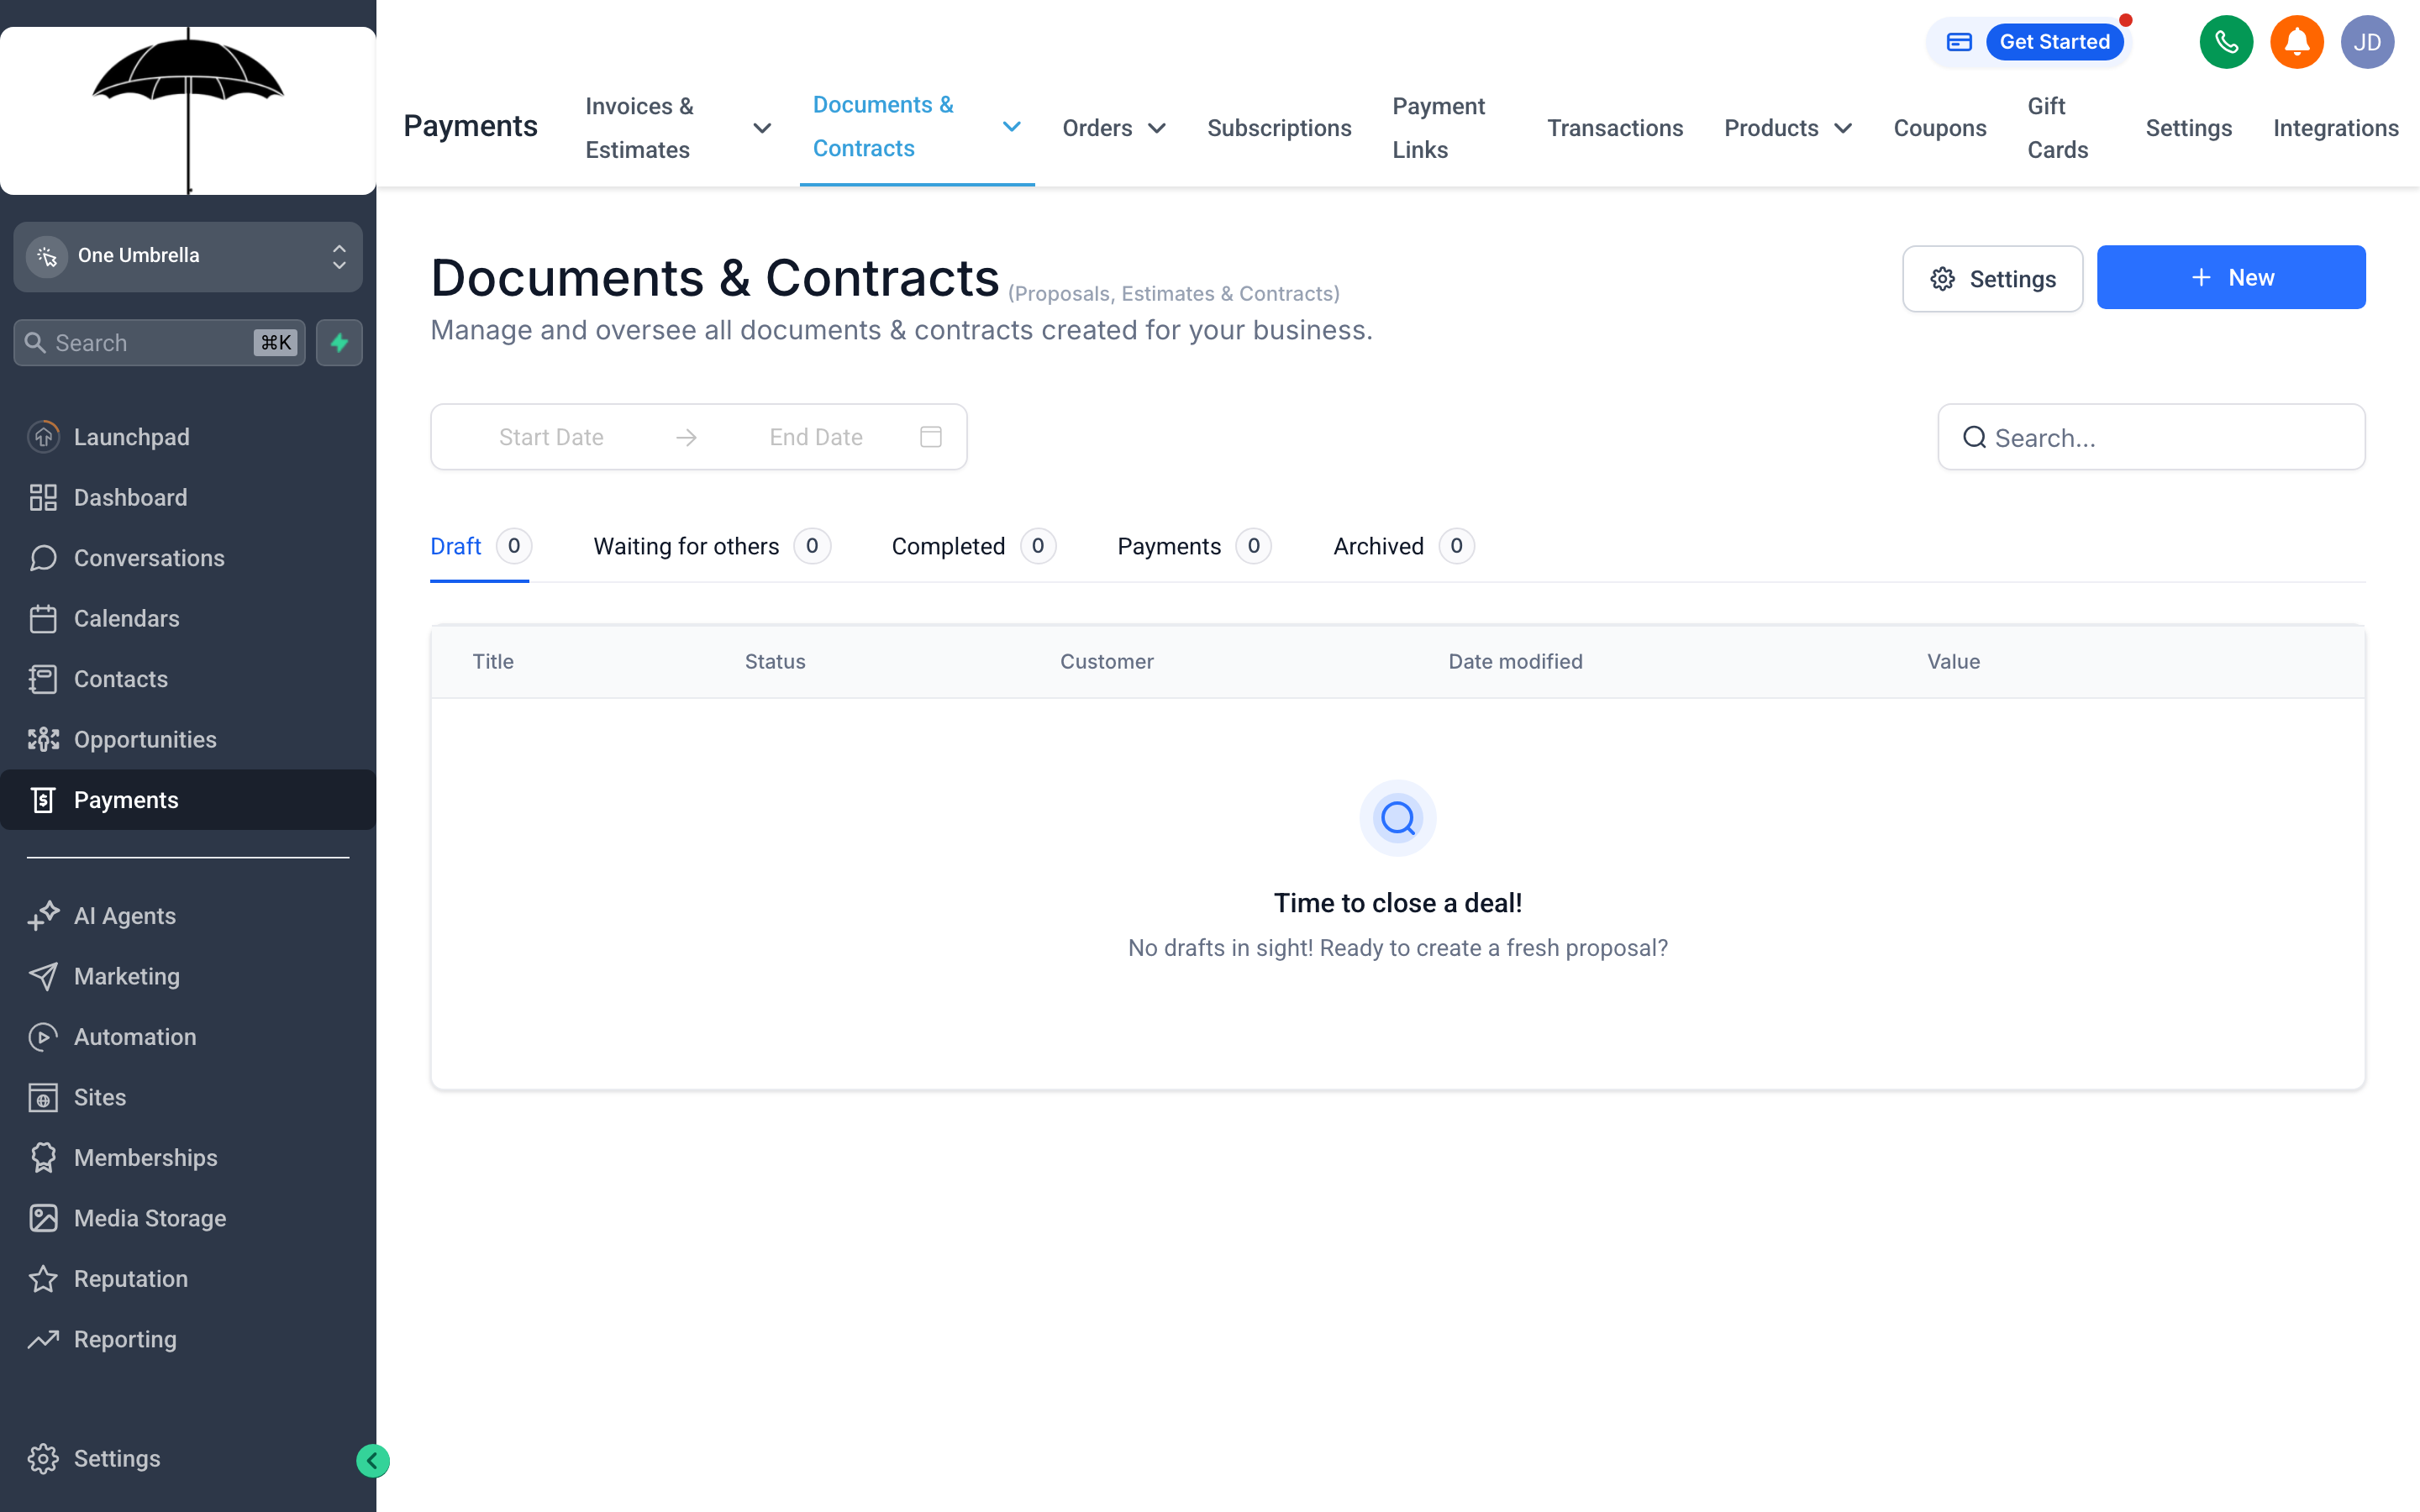
The Documents & Contracts section handles proposals, estimates, and agreements — each one can be sent for e-signature and tied to a contact’s record so nothing gets lost in email.
Before money changes hands, deals often need a signed agreement. Your CRM’s Documents & Contracts feature lets you build reusable templates for proposals, service agreements, and contracts — then send them directly to a contact for legally binding e-signature, all without leaving the platform.
Creating a document or contract
Section titled “Creating a document or contract”- Navigate to Payments → Documents & Contracts (your CRM may list this under a Documents section in the main navigation depending on your account layout).
- Click + New Document.
- Choose a Template if your administrator has set them up, or start from a blank document.
- Use the document editor to build out the content: description of services, payment terms, timelines, and any legal language.
- Add Signature Fields by dragging them into the document where you want the client to sign, initial, or fill in a date.
- Click Save.
Sending for e-signature
Section titled “Sending for e-signature”- Open the document you want to send.
- Click Send for Signature.
- Search for the contact you’re sending it to, confirm their email address, and add any custom message.
- Click Send. The contact receives an email with a link to review and sign the document online — no account needed on their end.
Tracking signature status
Section titled “Tracking signature status”Back in the Documents list, each document shows its signature status:
- Draft — not yet sent.
- Sent — waiting for the contact to sign.
- Signed — all required signatures collected; a signed copy is emailed to both parties.
- Declined — the contact declined to sign; you’ll need to follow up.